2024-07-11
한어Русский языкEnglishFrançaisIndonesianSanskrit日本語DeutschPortuguêsΕλληνικάespañolItalianoSuomalainenLatina
This article mainly introduces how to install the distributed search and analysis engine Elasticsearch on Windows system, and use it with the Npolar intranet penetration tool to achieve remote access without a public IP.
Elasticsearch is a distributed search and analysis engine based on the Lucene library. It provides a distributed, multi-tenant full-text search engine with an HTTP web interface and schema-free JSON documents. It is also a very powerful tool that can be used for a variety of purposes, such as log analysis, search engines, security analysis, and more.
The benefit of remote connection is that it allows users to access the Elasticsearch cluster from a remote location, which makes it easy to query and manage data. The specific benefits are as follows:
JDK 1.8
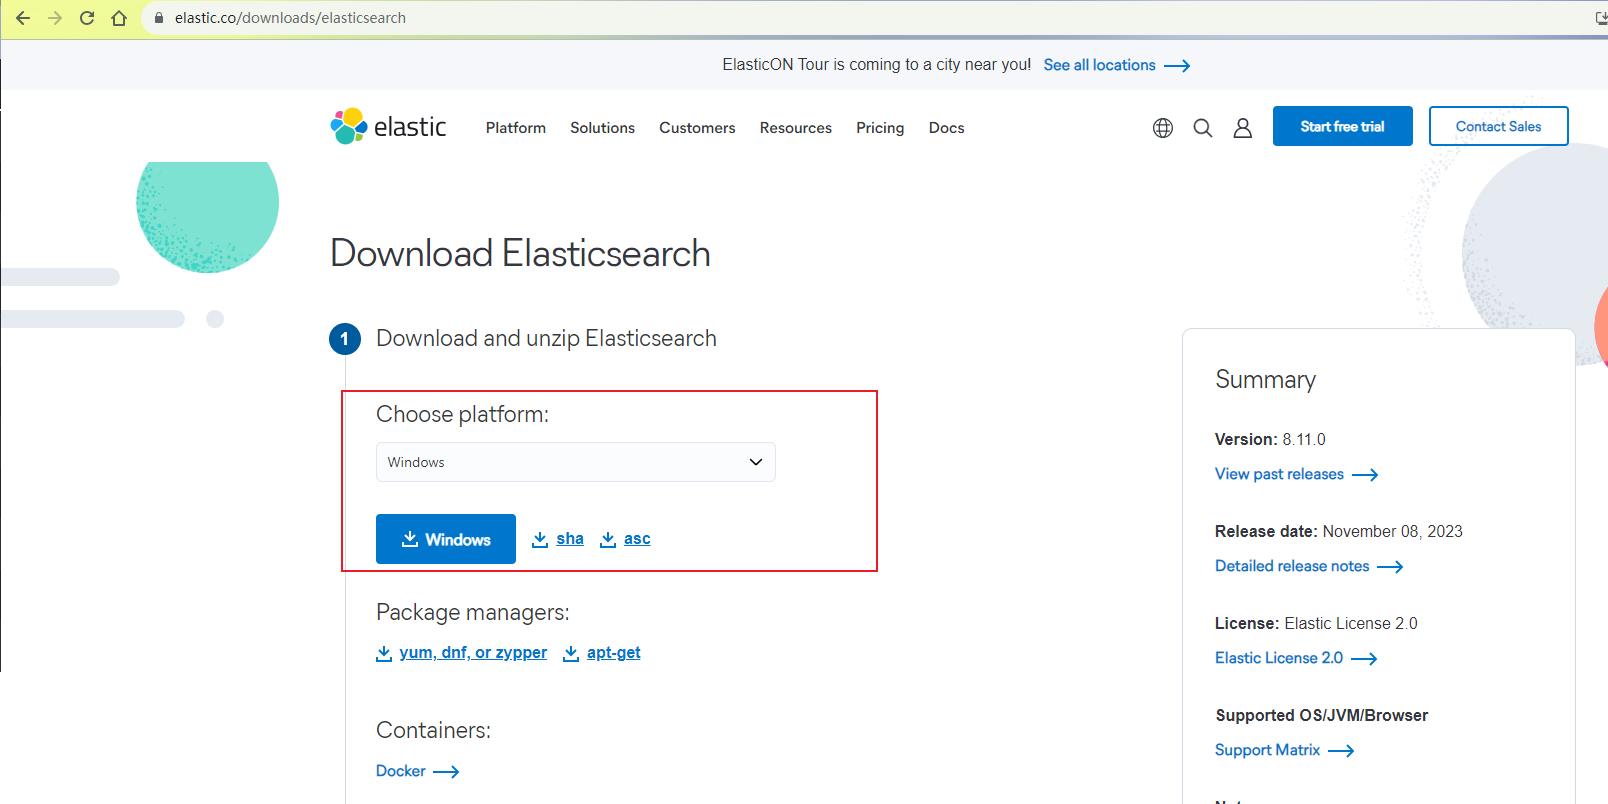
Go to the official download page: https://www.elastic.co/downloads/elasticsearch, select the Windows version to download. Elasticsearch requires a Java environment to run. If you don't have an environment installed, you need to install JDK in advance.
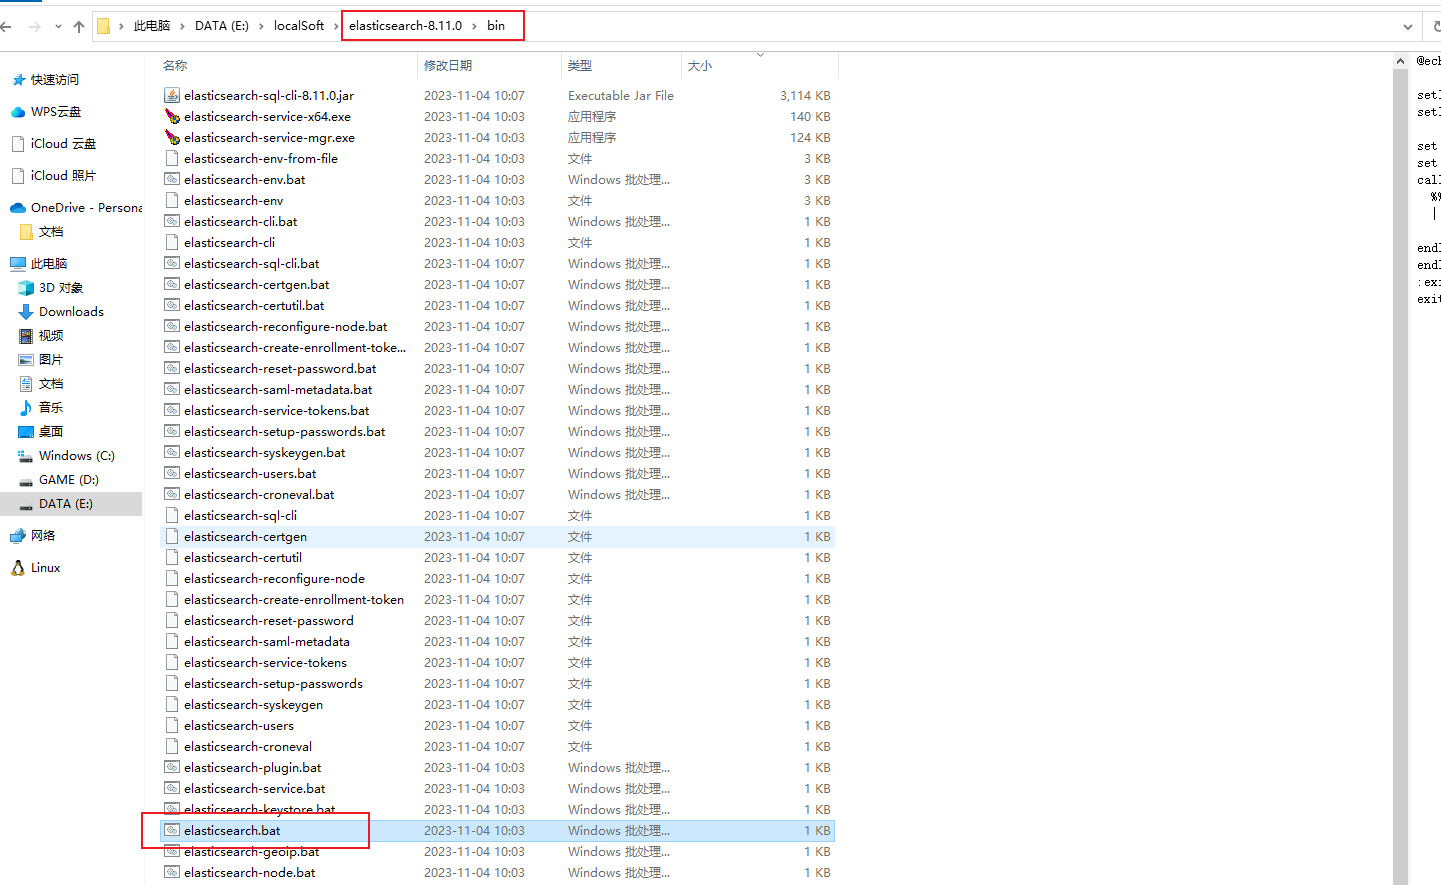
After downloading, unzip it, enter the bin directory, and findelasticsearch.batThe script file executes one-click startup.
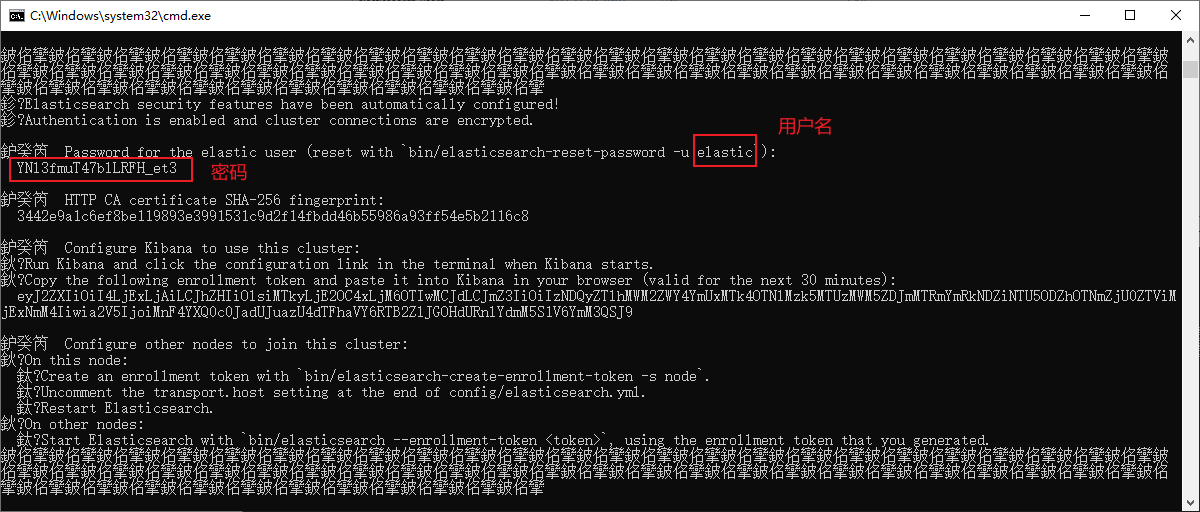
After startup, pay special attention to the user name and password information in the cmd window. This user name and password are required to access the login
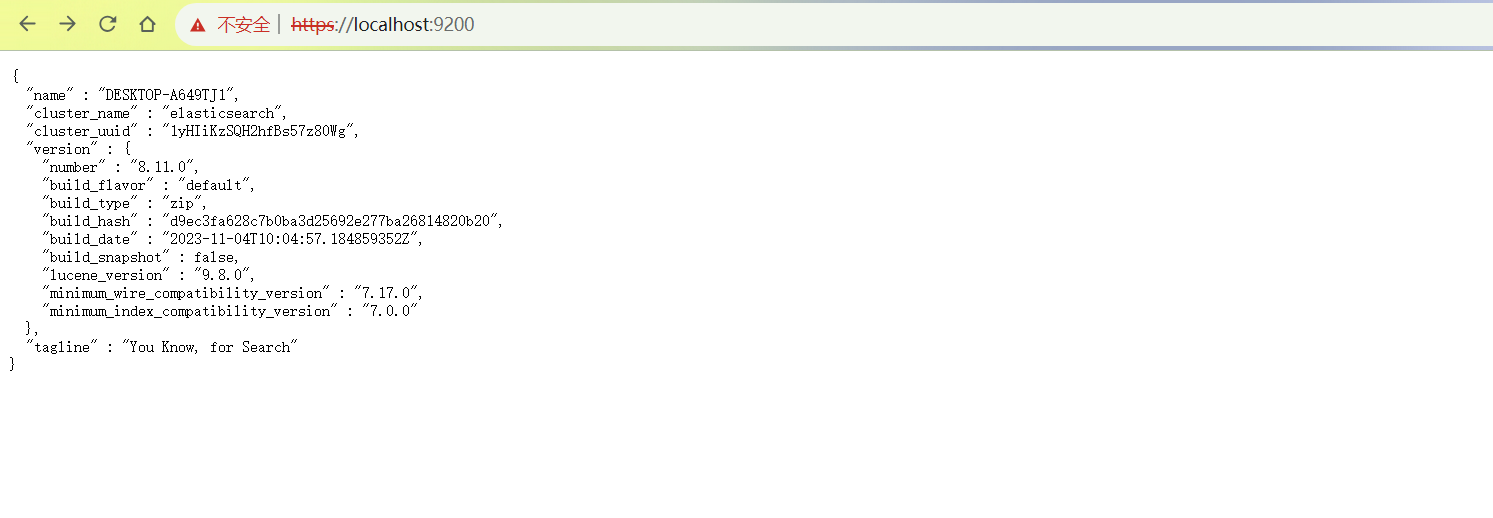
After running the service, enter the browserhttps://lcoalhost:9200You will be prompted to enter your username and password. Fill in the username we saw above: elastic and the corresponding password to access successfully. Next, install the Ngrok tool to achieve remote access
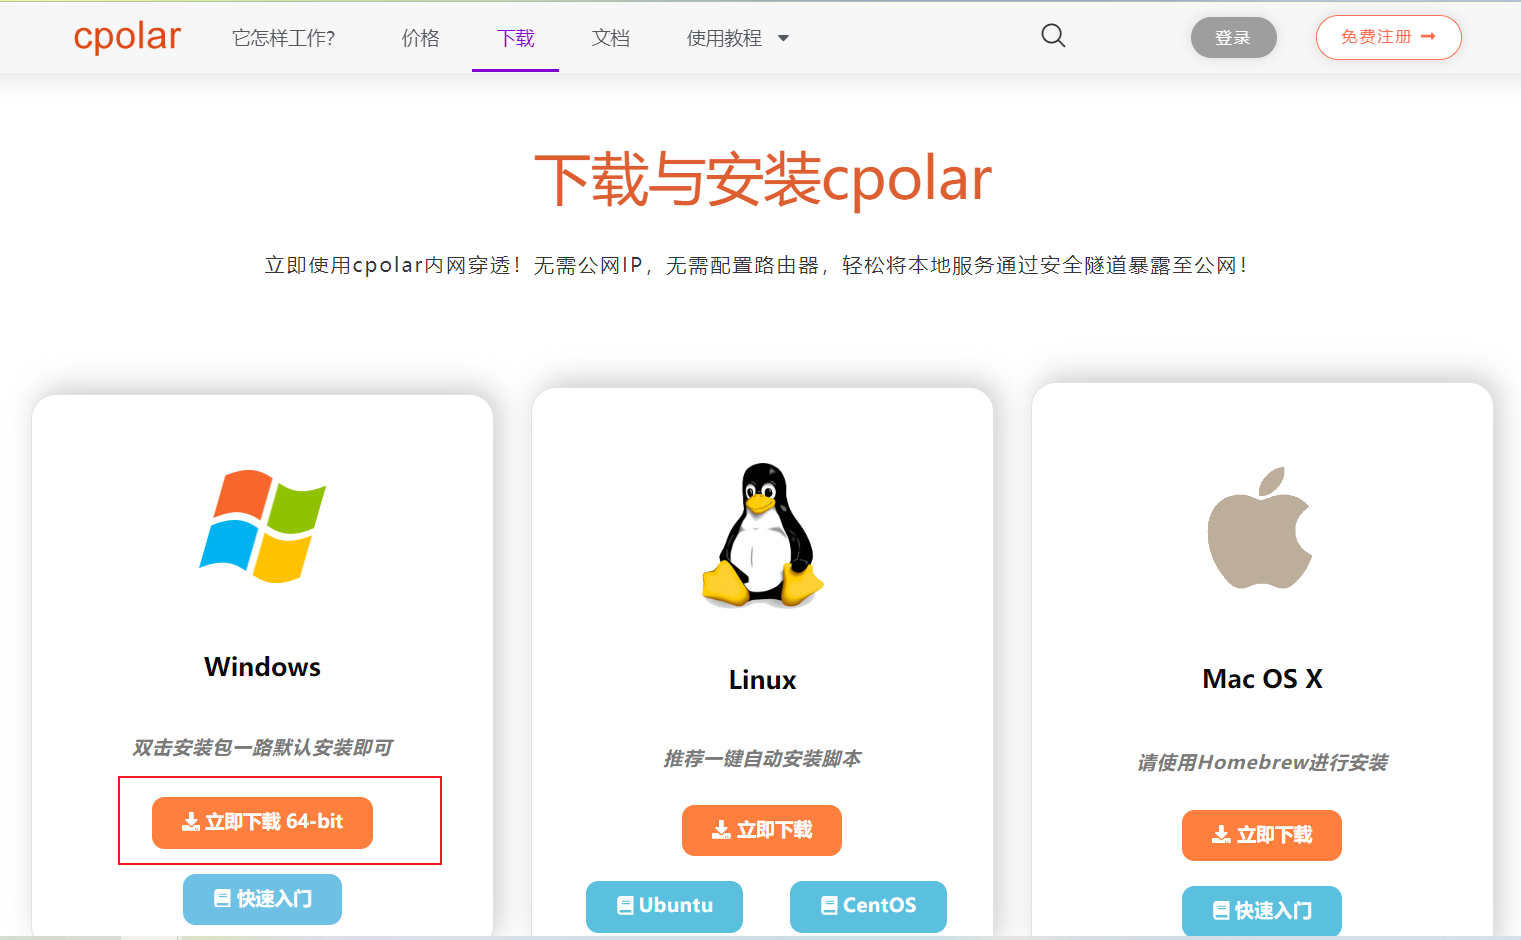
Visit the ngrok official website, register an account, then download and install the client. For specific installation instructions, please refer to the official website documentation tutorial.
Ngrok official website:https://www.cpolar.com/
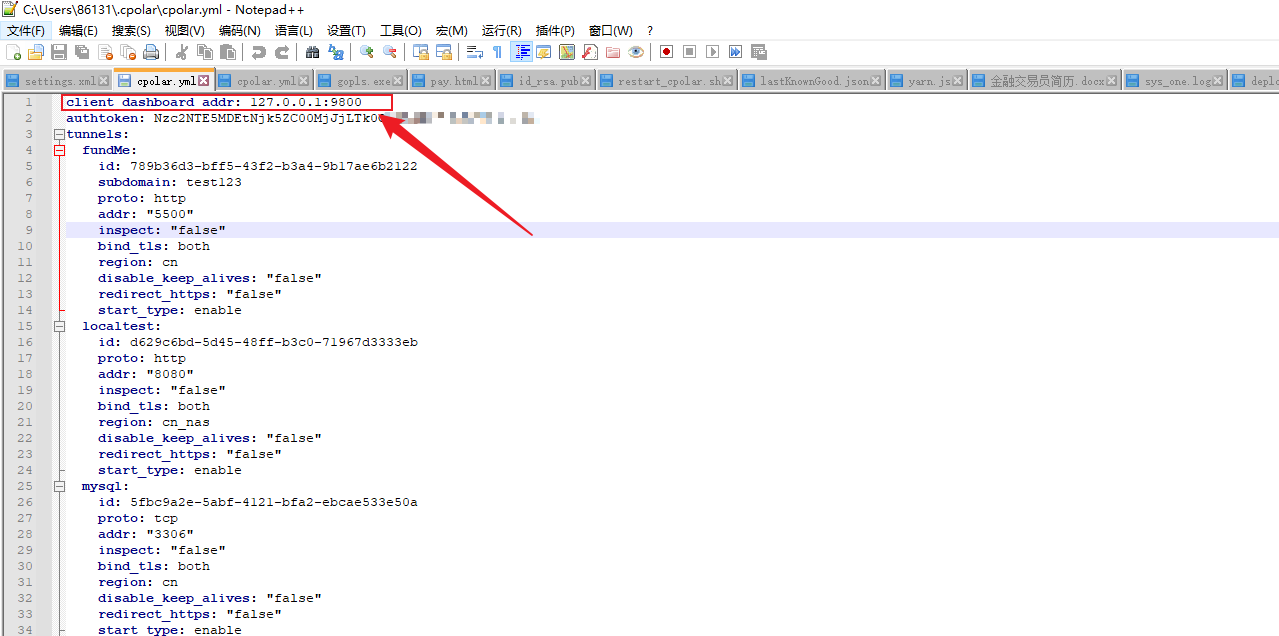
Note! After Ngrok is installed successfully, the default Ngrok web interface access port is also 9200, which will conflict with Elasticsearch. You need to change the Ngrok management interface port. If the Elasticsearch port is not 9200, you do not need to change it.
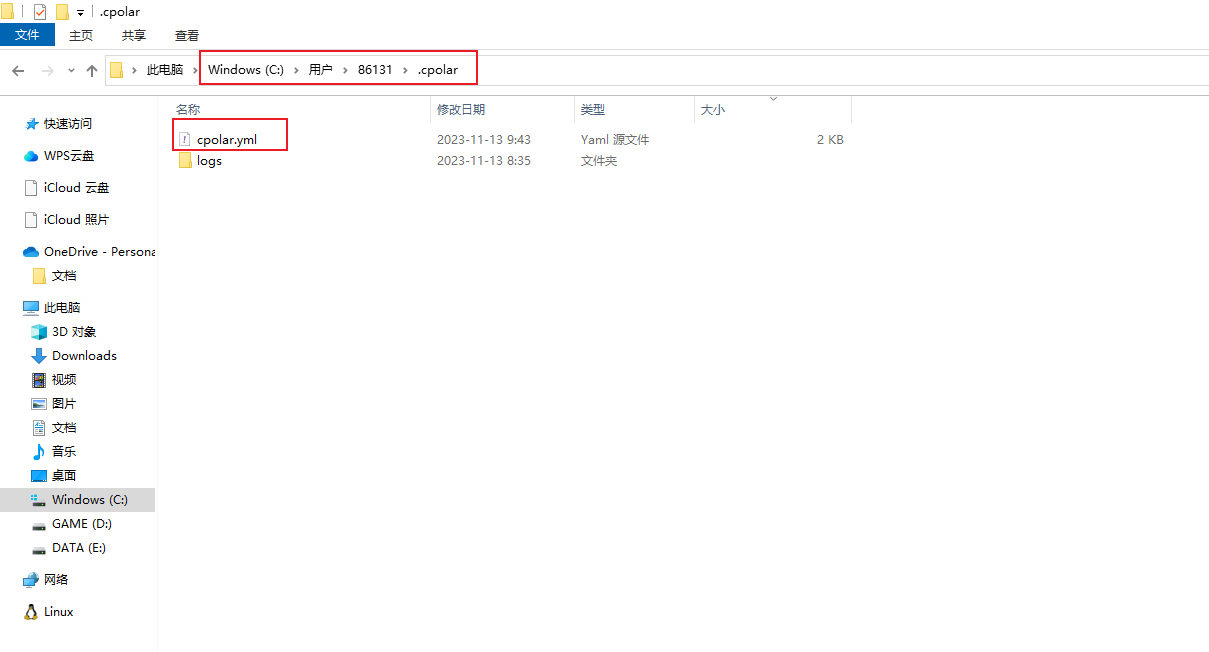
Find the ngrok configuration file:c:Users用户名.cpolarcpolar.yml, use Notepad editing tool or other software to open
In the configuration file, add a line:client_dashboard_addr: 127.0.0.1:9800, the port can be customized, here we use 9800
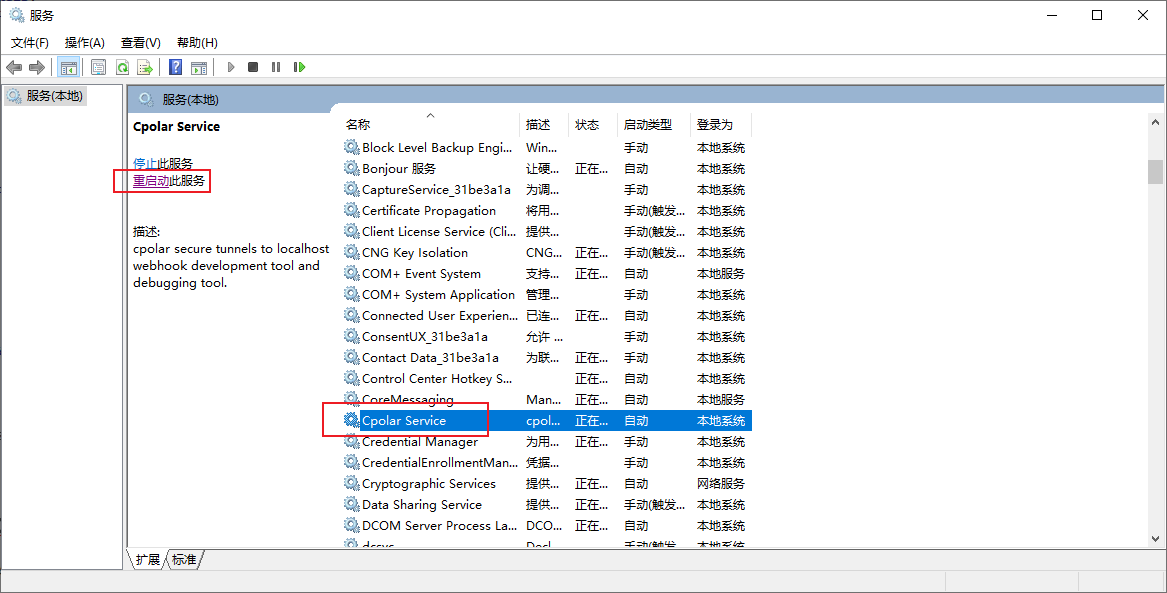
After modifying, remember to save the configuration file, then restart the ngrok service in Control Panel – Administrative Tools – Services – ngrok service
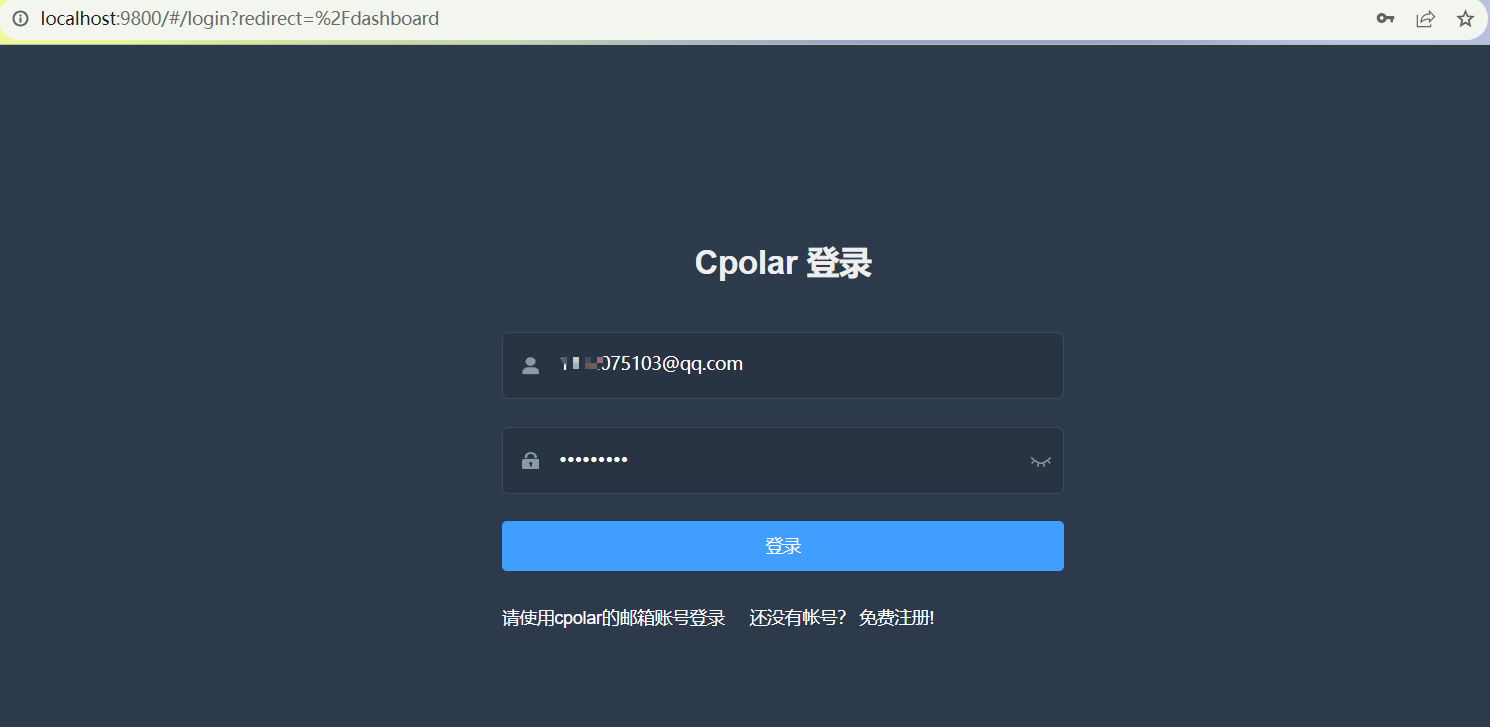
Then enter the browserlocalhost:9800, you can access the Ngrok Web UI management interface, enter the account registered on the official website to log in.
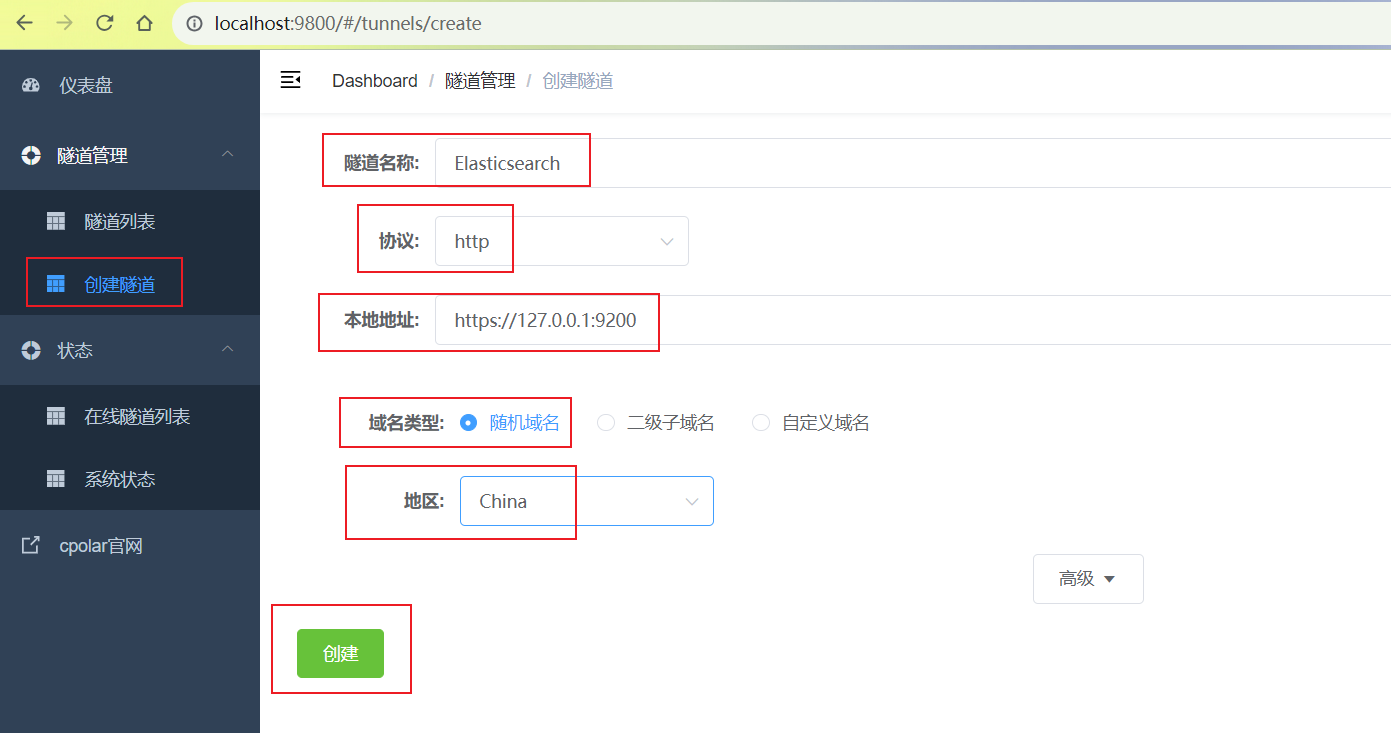
After logging in, click Tunnel Management on the left dashboard - Create Tunnel to create a 9200 http tunnel
Click创建
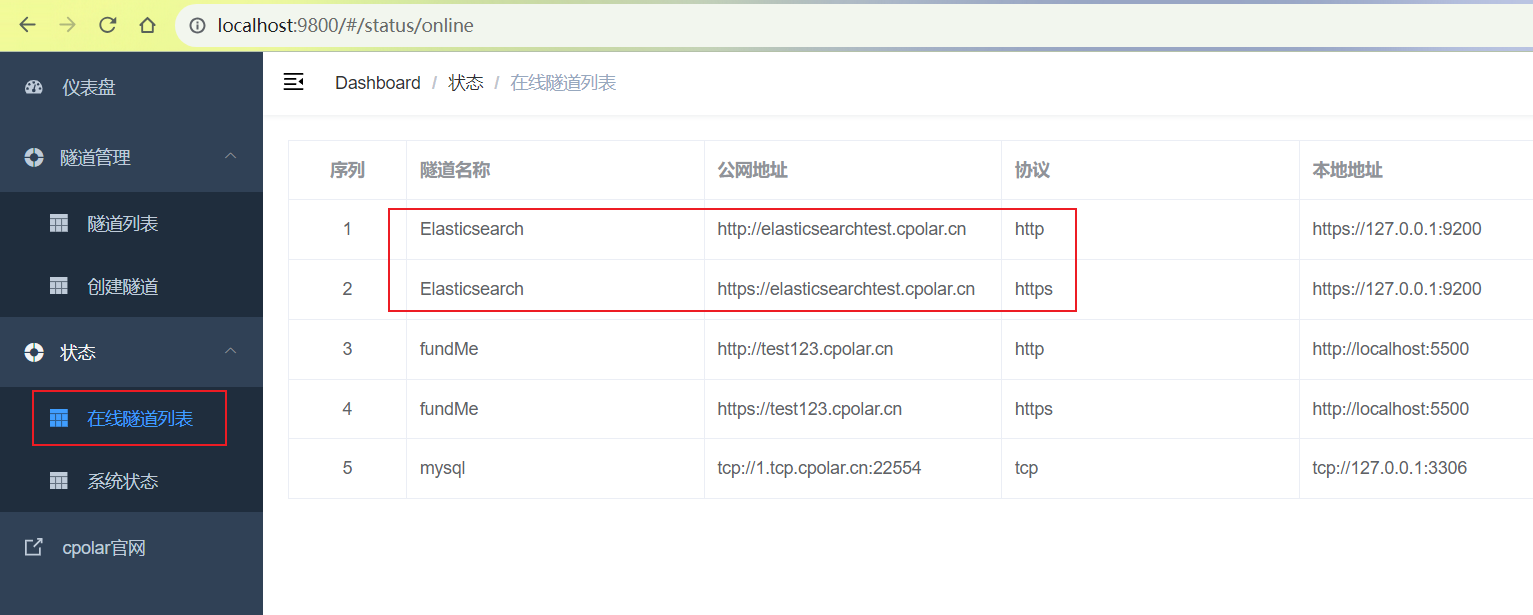
After the tunnel is successfully created, click Status on the left - Online Tunnel List to view the generated public network access address. There are two access methods, http and https. Since the local is https, we only need to use the https address.
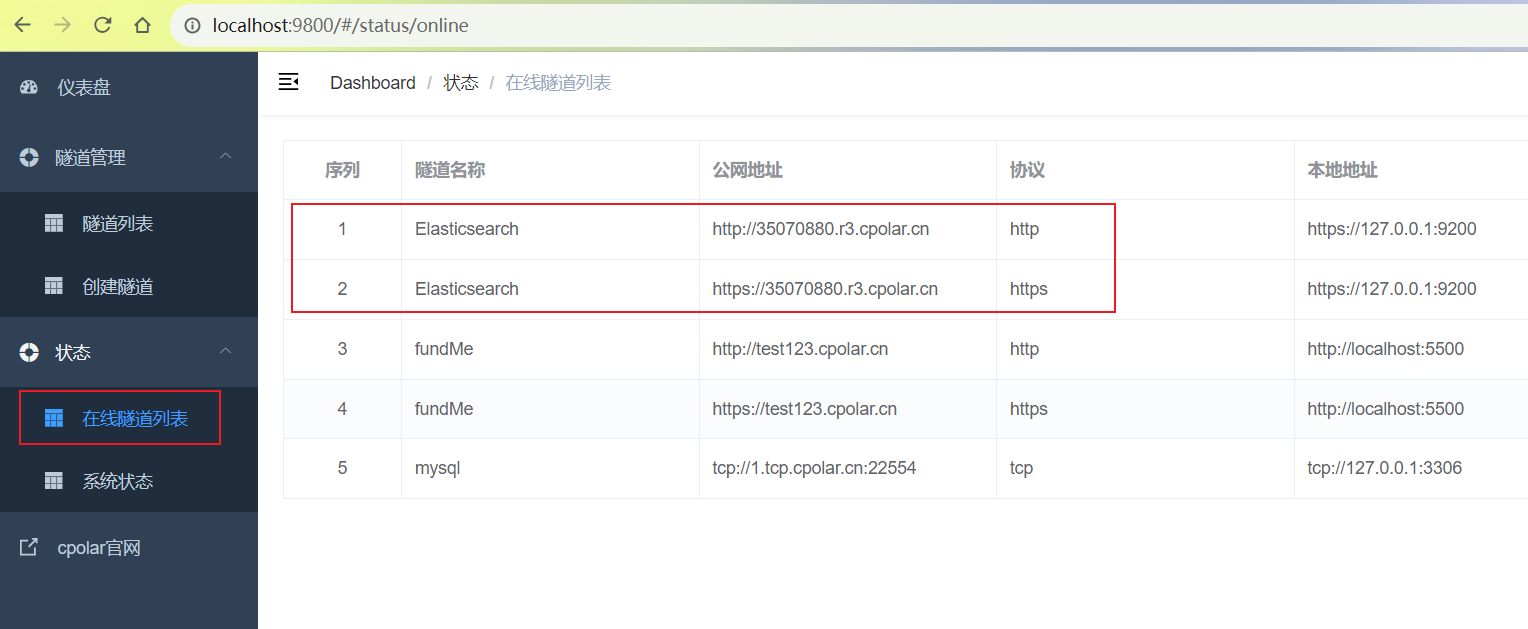
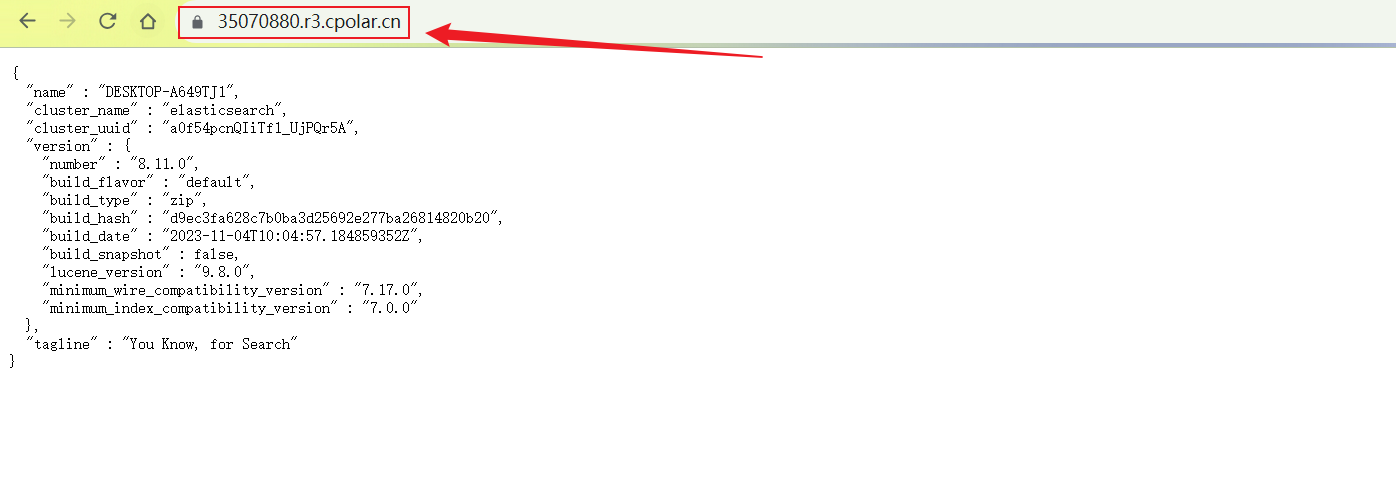
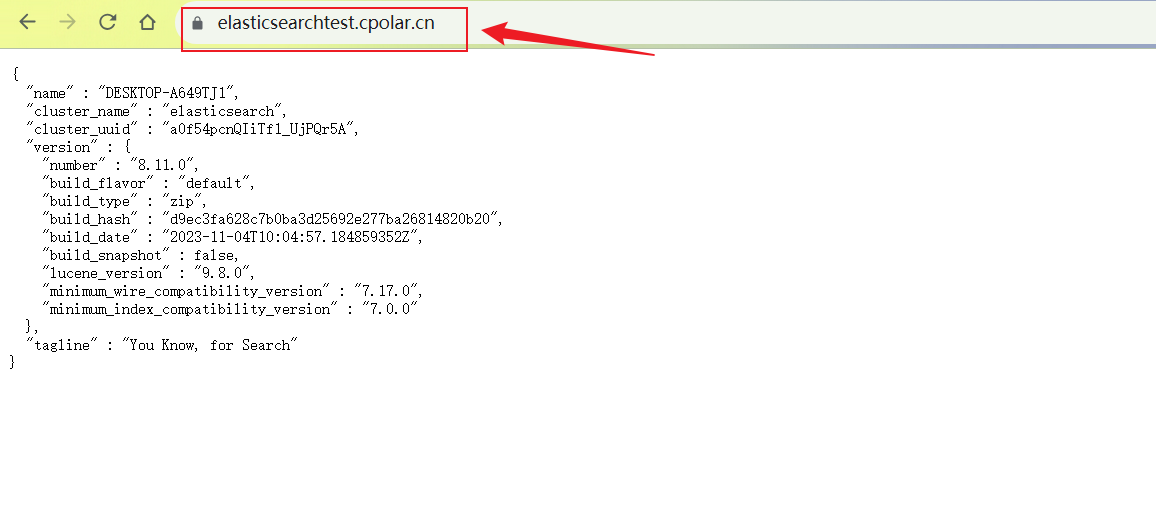
Open the browser and use the Npolar https public network address to access. You can see that the access is successful. In this way, the public network address that can be accessed by a remote or any device browser is set.
summary
For better demonstration, we used the tunnel generated by ngrok in the previous process, whose public network address was randomly generated.
The advantage of this random address is that it is quick to create and can be used immediately. However, its disadvantage is that the URL is generated by random characters and is not easy to remember (for example: 3ad5da5.r10.ngrok.top). In addition, this address will change randomly within 24 hours, making it more suitable for temporary use.
I usually use a fixed second-level subdomain because I want it to be a fixed, easy-to-remember public address (for example: crm.npolar.cn) when I send the URL to my colleagues or customers. This makes it more formal and easier to communicate and collaborate.
Since the tunnel created by ngrok above uses a random public network address, it will change randomly within 24 hours, which is not conducive to long-term remote access. Therefore, we can configure a secondary subdomain for it, which is a fixed address and will not change randomly [ps: ngrok.cn has been registered]
Please note that you need to upgrade your ngrok package to the basic package or above, and each package has a different bandwidth. [ngrok.cn has been registered]
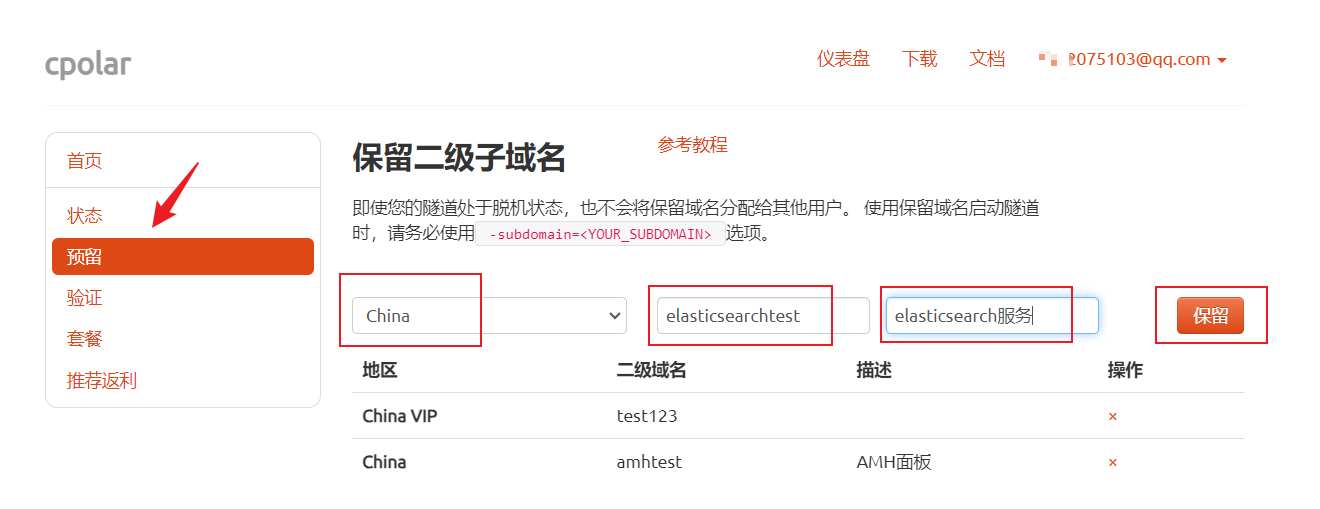
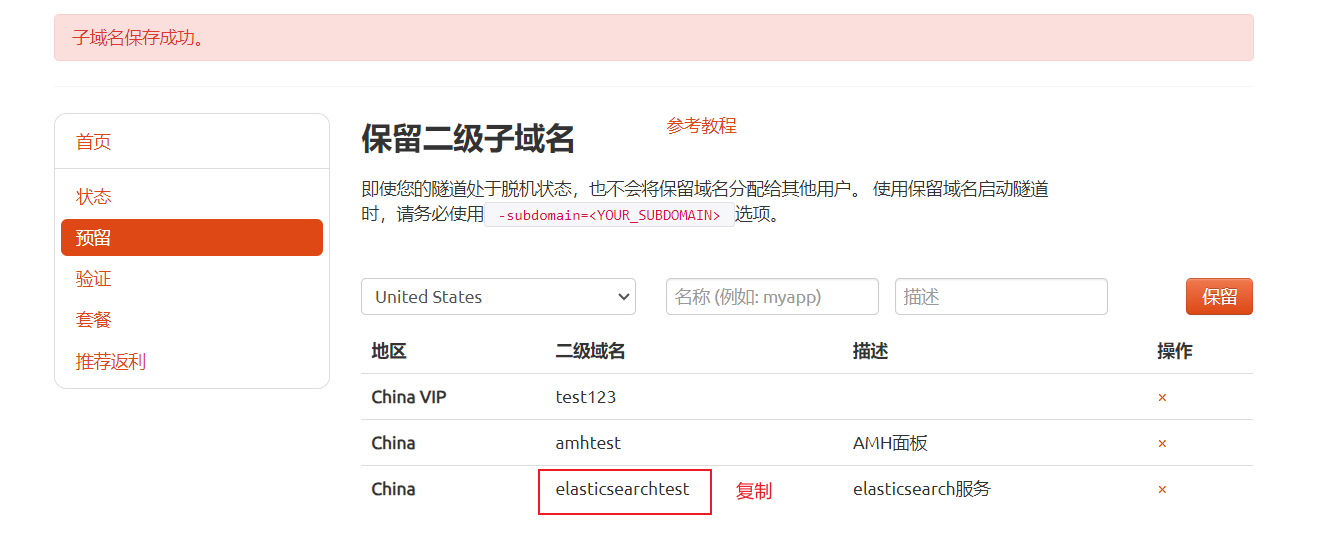
Log in to ngrok official website, click Reserve on the left, select Reserve a second-level subdomain, set a second-level subdomain name, click Reserve, and copy the reserved second-level subdomain name after the reservation is successful
After the reservation is successful, copy the reserved secondary subdomain address
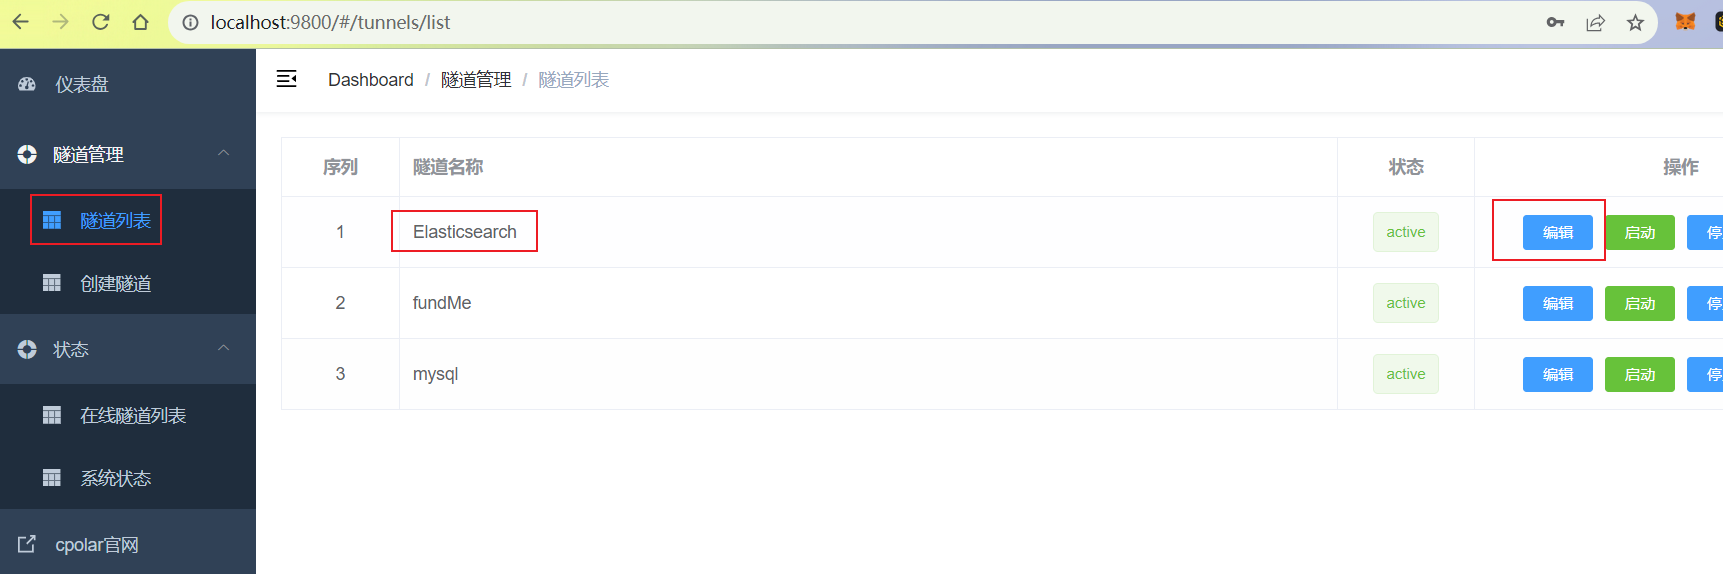
Log in to the ngrok web UI management interface, click Tunnel Management -> Tunnel List on the left dashboard, find the tunnel you want to configure, and click Edit on the right.
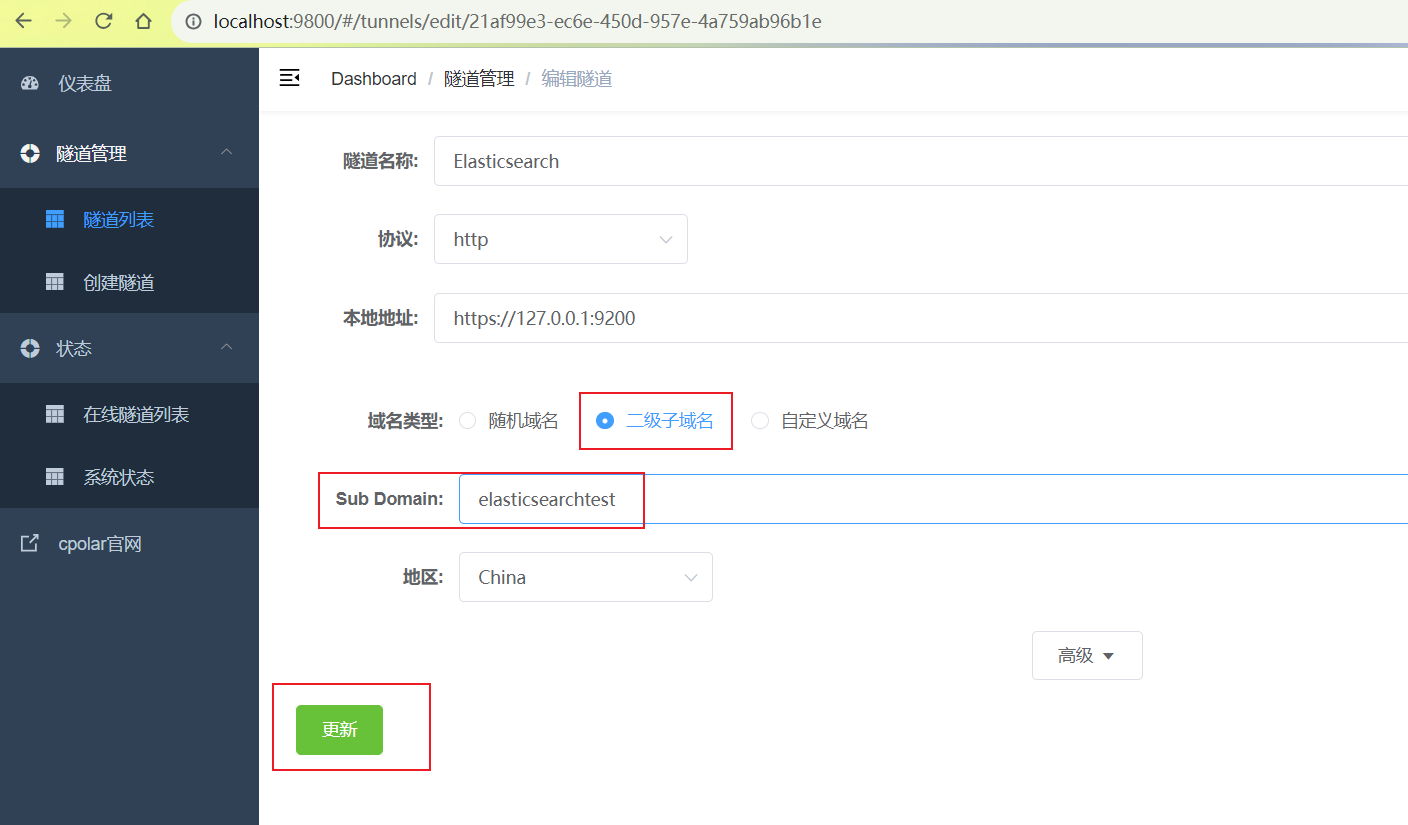
Modify the tunnel information and configure the successfully retained secondary subdomain name into the tunnel
Click更新
After the update is complete, open the online tunnel list and you can see that the public network address has changed and the address name has become a reserved and fixed secondary subdomain name.
Finally, use the fixed domain name public network https address to access, and you can see that the access is also successful. In this way, a permanent and fixed public network address is set!

I have devoted myself to the research of technology for more than 30 years. I am proficient in various languages such as Java, Linux, JavaScript, PHP, CSS, etc. I have made many contributions in the field of open source. I have established a developer documentation site to share some problems in technology development for everyone to read.
