2024-07-12
한어Русский языкEnglishFrançaisIndonesianSanskrit日本語DeutschPortuguêsΕλληνικάespañolItalianoSuomalainenLatina
A few days ago, I found a great artificial intelligence learning website. It is easy to understand and humorous. I couldn't help but share it with you.Click to jump to the website】
This article mainly introduces a Chinese-developed online web file manager called Kedao Cloud, which can support online management of pictures, playing music and videos, editing and viewing files, etc. By combining it with ngrok's intranet penetration tool, we can easily create a private cloud disk that can be accessed remotely.
Cloud storage, as a concept that has emerged in recent years, has successfully attracted major Internet manufacturers to participate. It has also popularized the concept of "centralized storage, separate calls" to the minds of a large number of Internet users. The equipment and software for building centralized data storage centers have also ushered in a wave of explosions.
Cloud storage originally had great development prospects, but the mysterious operations of major manufacturers directly ruined its development prospects in the field of cloud storage, and instead put the development of private data centers and software on the fast track. There are many professional data storage centers, but they are also very expensive; fortunately, there are also various web-based file management functions that can easily transform our home computers into personal data storage centers.
Kedaoyun is a web file manager developed by Chinese people. It can support online management of pictures, playing music and videos, editing and viewing files, etc. Its operation page is also very friendly. Its operation page is similar to the Windows Explorer interface, and there is no unfamiliarity in the interface. Most importantly, as a web file manager developed by Chinese people, it can perfectly support Chinese.
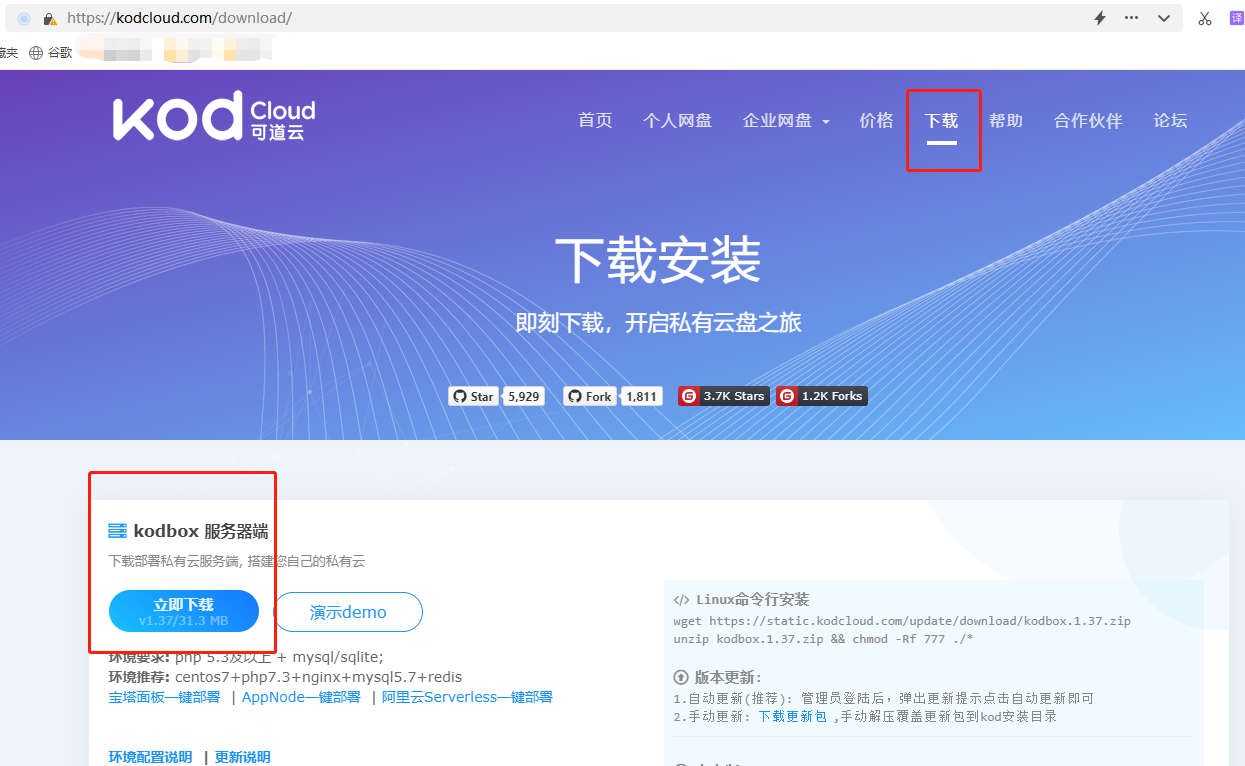
First, we log in to Kodcloud's official website (kodcloud.com/), download the Kodcloud server.
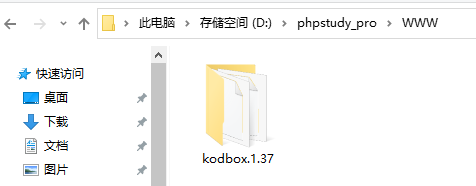
After the Kodcloud server is downloaded, unzip it to the web operating environment. The web operating environment I use is Xiaopi Panel, so the unzipped kodcloud file is placed in the www folder.
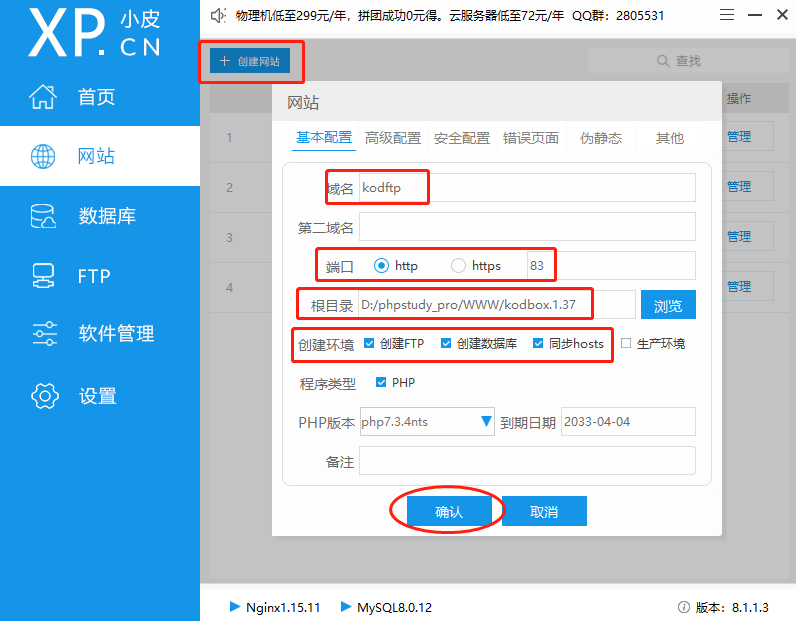
Next, open the "Website" interface of the Xiaopi panel and click on the upper left corner创建网站Buttons:
域名: Domain name used for local access端口Web page output port根目录Where Kodcloud files are stored创建环境FTP, database, etc.After completing these contents, you can click the确认button to create a local web page for Kedao Cloud (remember to turn on the DTP extension of PHP, which can be found in the "Management" item of the corresponding web page of the Xiaopi panel).
After the web page is created, we enter域名:端口号(or 127.0.0.1:83), you can open the installation page of the Kedao Cloud server
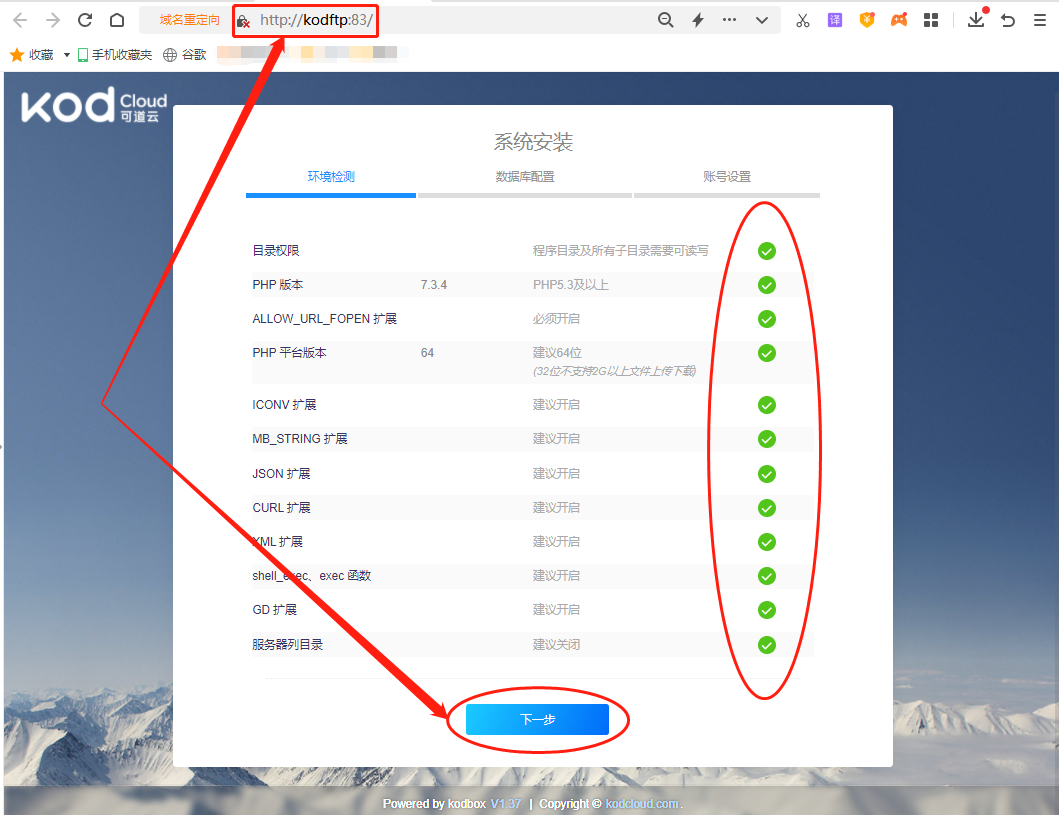
Enter the installation page of KeDao Cloud, the software will perform a self-check on the installation environment. Only after the self-check passes can you proceed to the next step.
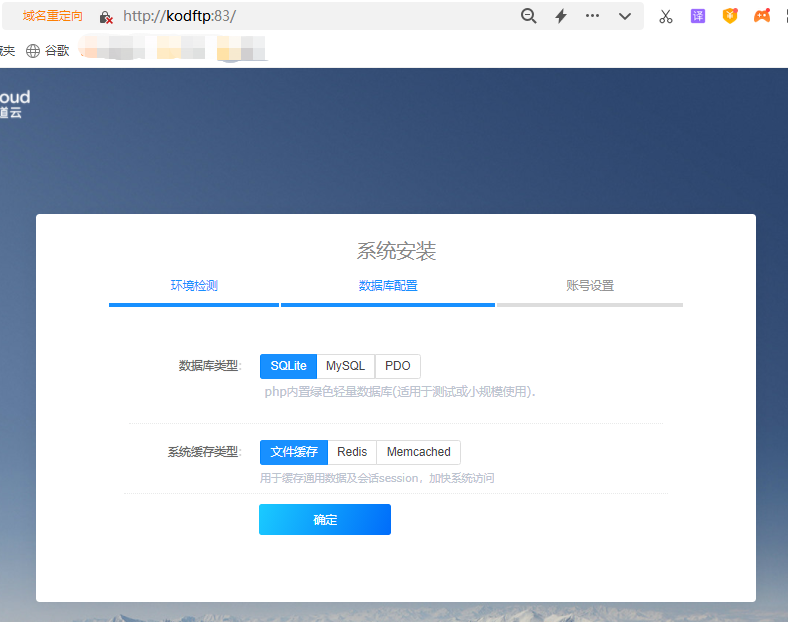
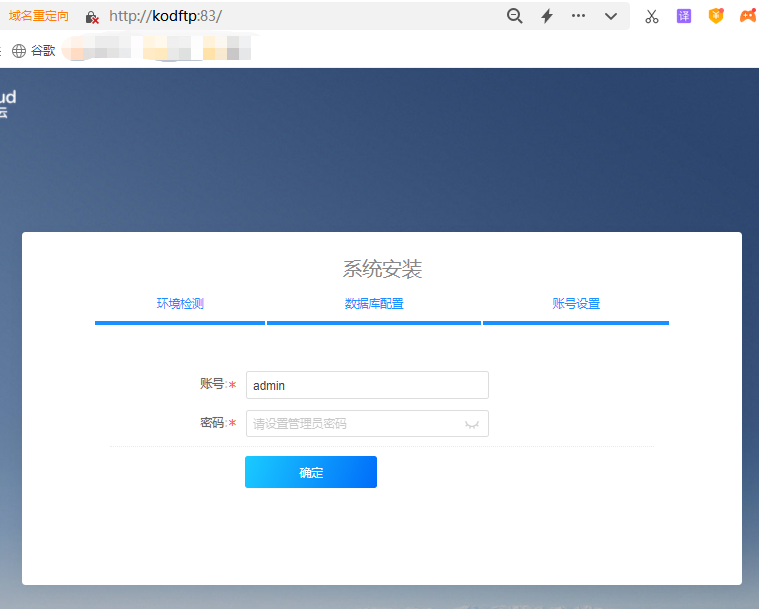
We don't have anything to set on the database page, just click确定Finally, we set the administrator account and password to complete the installation of KeDao Cloud's web server.
After completing the installation of the above web program, Kedao Cloud will automatically jump to the user login interface, and we can log in directly.
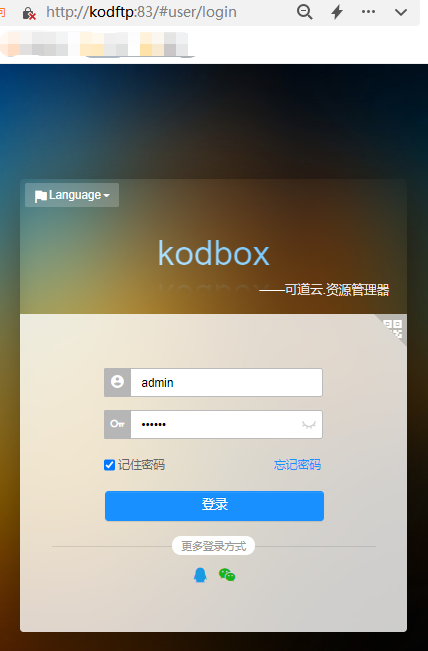
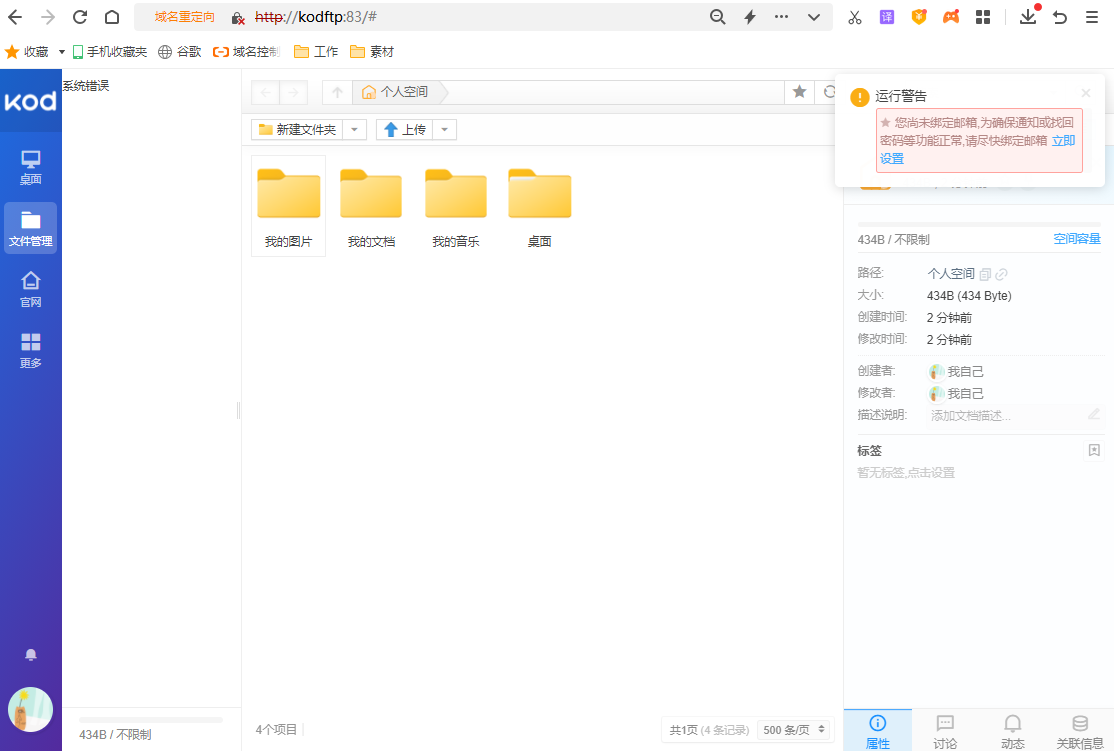
This step can be regarded as a test of whether Kedao Cloud has been successfully installed and can be accessed normally. As long as we can log in normally, it means that we have successfully installed Kedao Cloud on the local computer.
Next, we can continue to install Ngrok and use the intranet-penetrating data tunnel created by Ngrok to generate a public Internet address for the locally installed Kedao Cloud, allowing us to access various files and information on the local computer on the public Internet.
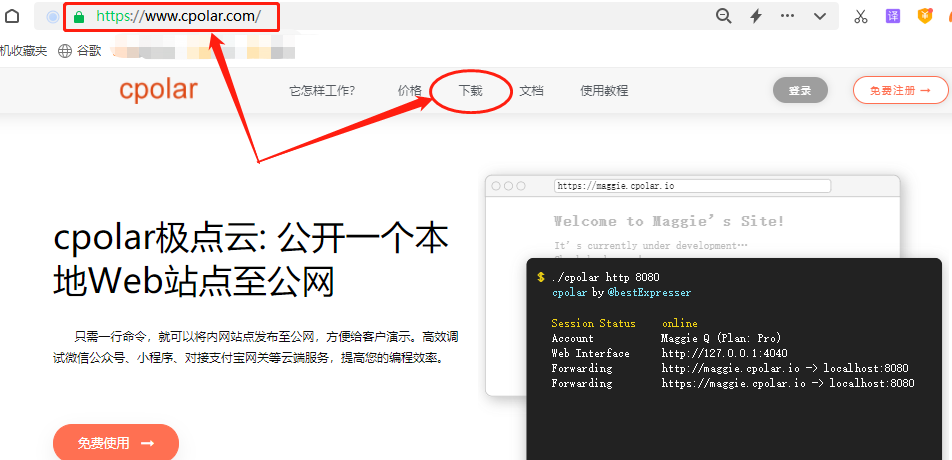
Compared with the installation on the Kedao Cloud Server page, the installation of ngrok is much simpler. You can directly install it on the ngrok official website (https://www.cpolar.com/)turn up下载button.
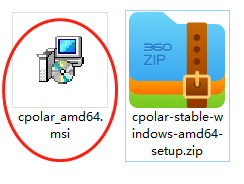
The author uses the Windows operating system, so he chooses the Windows version to download.

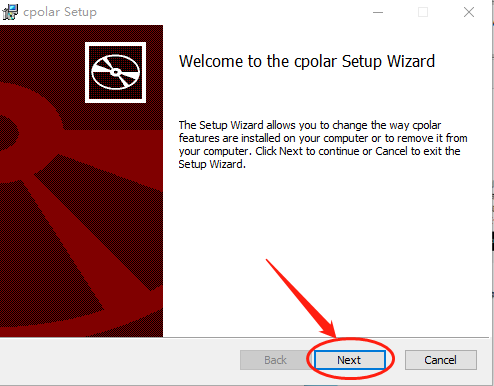
Once Ngrok is downloaded, unzip the downloaded file and double-click the unzipped .msi file to automatically execute the installation program. Then just click "Next" to complete the installation.
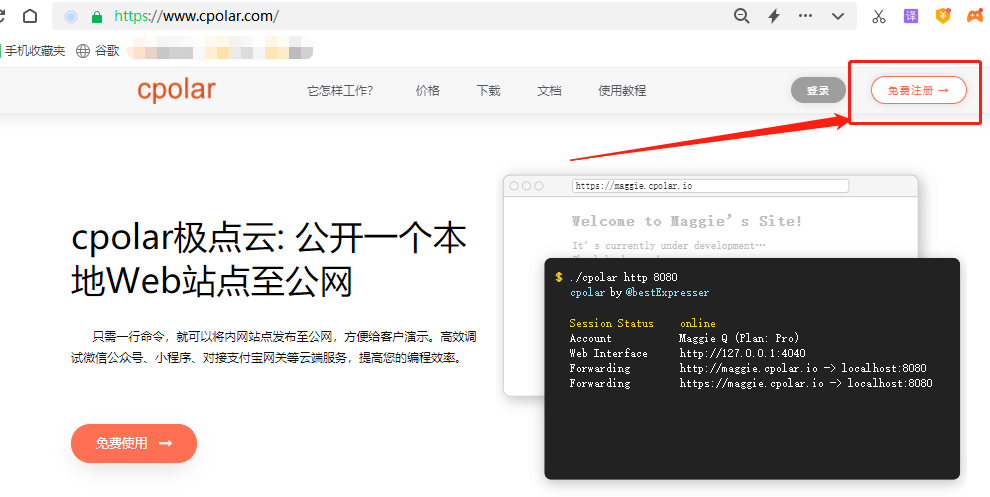
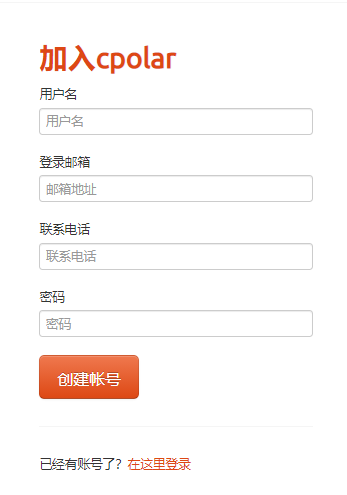
Since ngrok will create an independent data tunnel for each user and use the user password and token code to ensure data security, we need to register before using ngrok. The registration process is also very simple. Just click "User Registration" in the upper right corner of the ngrok homepage and fill in a few necessary information to complete the registration.
At this point, we have completed the local page test of the KeDao Cloud server and installed and registered ngrok. The next step is to create an intranet-penetrating data tunnel and create a public Internet address for the local KeDao Cloud.
Personal data centers require long-term stable access. I don't want to update the public Internet address settings every day (the data tunnel of the free version of ngrok is reset every 24 hours), so I upgraded ngrok to the VIP version in order to obtain a long-term stable intranet penetration data tunnel.
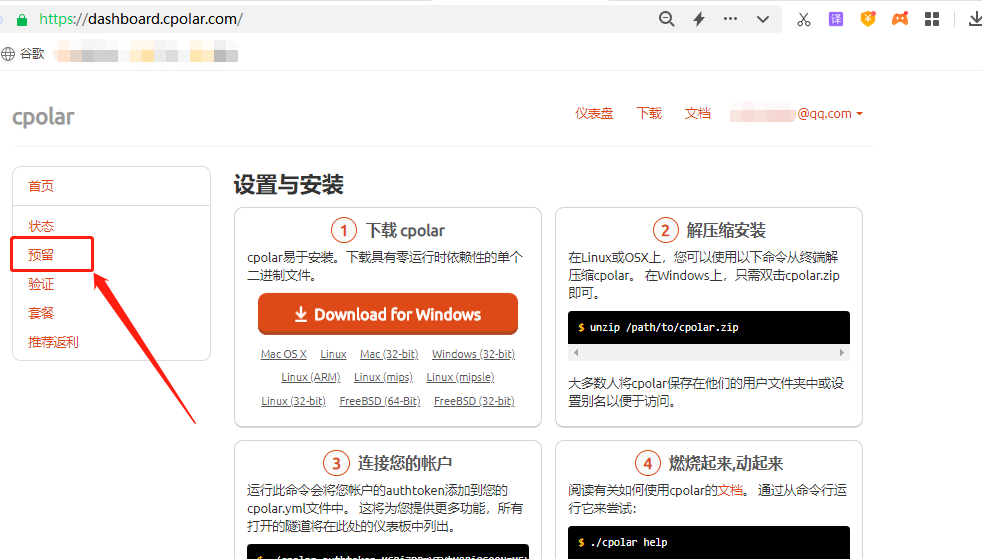
To set up a long-term stable intranet penetration data tunnel, you need to log in to the ngrok official website (the free version does not need to be set up in the ngrok cloud, it can be set up directly on the client) and find the预留button and click it to enter the ngrok data tunnel reservation page.
A public Internet address is generated here (which can also be regarded as the entrance to the data tunnel). Since this address is not connected to the local software output port at this time, it can also be regarded as a blank data tunnel.
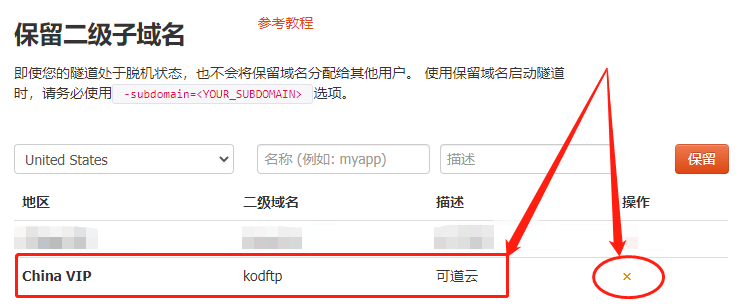
On the reservation page, you can see many types of data tunnels that can be reserved. Here we choose保留二级子域名Column.
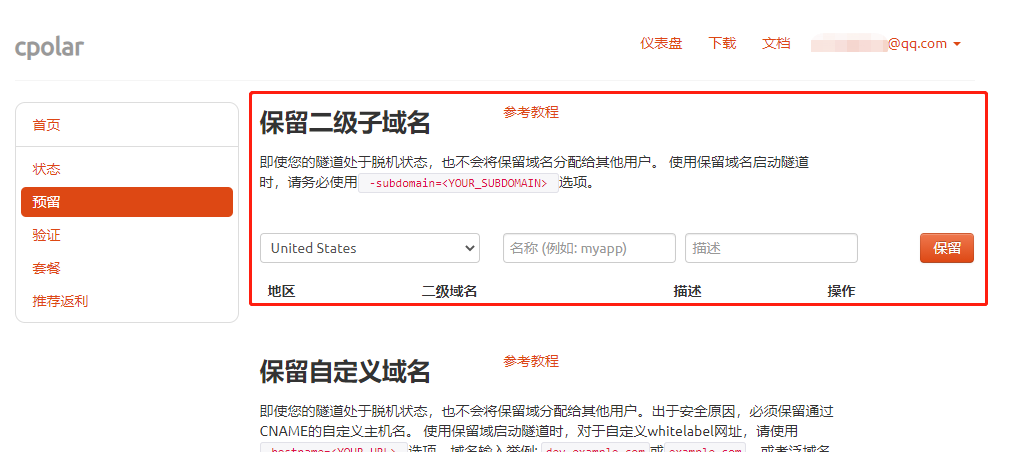
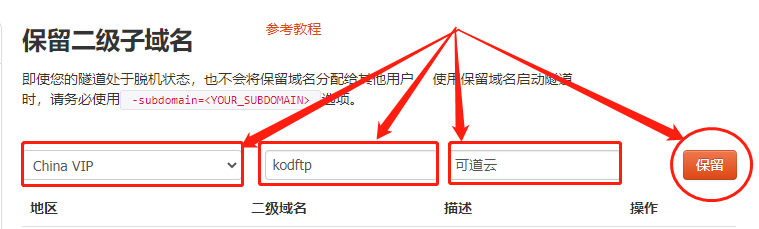
In the "Reserve Secondary Subdomain" field, you need to set up a few simple pieces of information, namely:
地区: The area where the server is located, just select the nearest one二级域名: Will eventually appear in the generated public Internet address as an identifier of the network address描述:It can be regarded as a description of this data tunnel, which can be distinguished from other tunnelsAfter completing these settings, you can click the "Save" button on the right to keep this data tunnel.
Of course, if you do not plan to use this data tunnel anymore, you can click the "x" on the right to easily delete it and save valuable tunnel space.
After completing the ngrok cloud settings and retaining the blank data tunnel, you can return to the local ngrok client and connect the blank data tunnel generated in the cloud to the local test page.
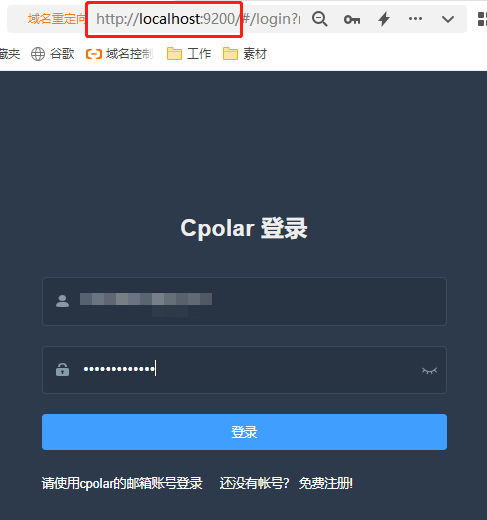
Open and log in to the ngrok client locally (you can access it directly by typing localhost:9200 in your browser, or by clicking the ngrok client shortcut in the start menu).
Click the "Create Tunnel" button under "Tunnel Management" on the left side of the client's main interface to enter the local tunnel creation page (if you want to create a temporary data tunnel that resets the address every 24 hours, you can set it up here directly without having to set up a blank data tunnel on the ngrok official website).
On this page, you also need to set several information, including:
隧道名称 – It can be regarded as ngrok’s local tunnel information annotation, as long as it is convenient for us to distinguish;协议 – Since the Kedao Cloud page is in the form of a web page, select the http protocol;本地地址 – The local address is the output port number of the local website, so enter 83 here;域名类型 – In this example, we have reserved a data tunnel for the subdomain in the ngrok cloud, so check "Subdomain" (if you have reserved a custom domain, check the custom domain) and fill in the reserved subdomain in the "Sub Domain" column of the next line, which is "alipaytest" in this example. If you plan to create a temporary data tunnel, just check "Random Domain" and let the ngrok client generate the network address by itself;地区 – Just like the information reserved in ngrok cloud, we can fill it in according to the actual usage;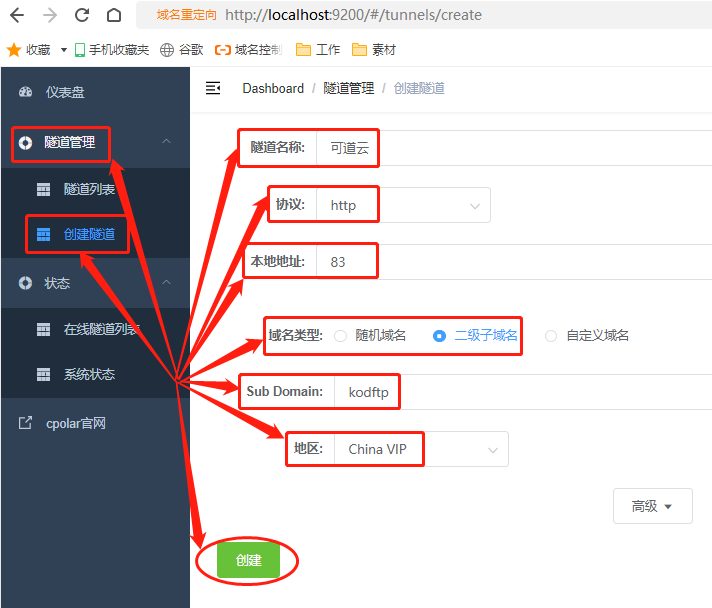
After completing these settings, you can click the "Create" button at the bottom of the page to connect the blank data tunnel on the ngrok cloud with the local payment test page, which provides us with a data tunnel that can access the local payment test page on the public Internet.
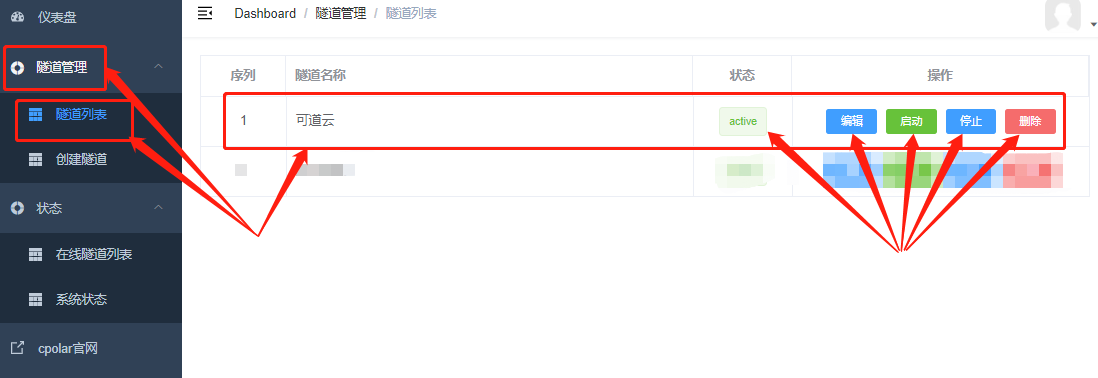
We can隧道管理Under隧道列表On this page, you can manage this data tunnel, including opening, closing or deleting this tunnel. You can also click the "Edit" button to modify the information of this data tunnel.
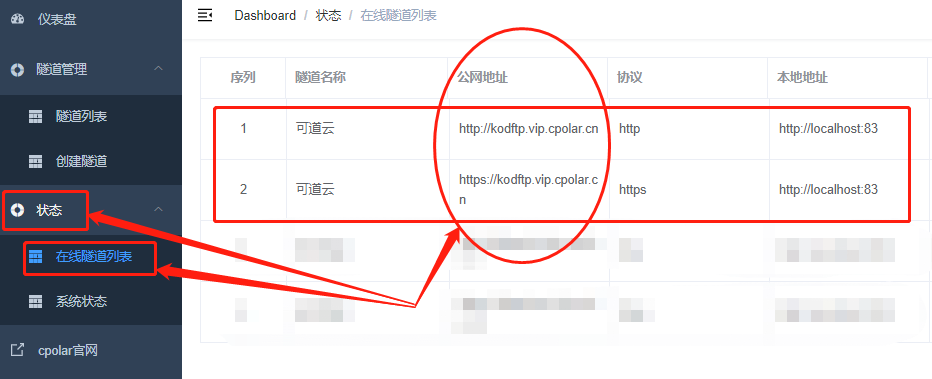
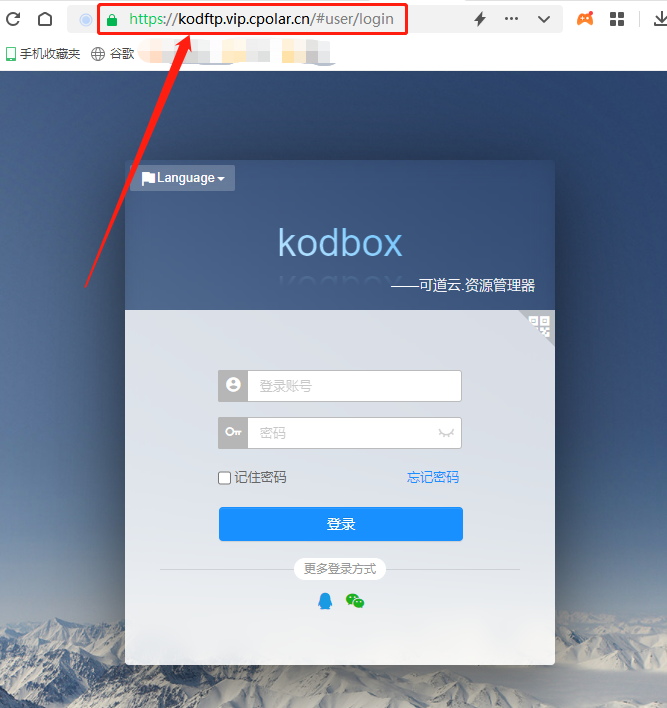
Finally, we click on the "Status"在线隧道列表button, you can find the public Internet address of this page. Paste this address into the browser and you can see the local page, thus achieving the purpose of publishing the local page to the public Internet.
Of course, we can also use the Kedao Cloud client to fill in the public Internet address generated by ngrok服务器地址In the , access the local KeDao cloud server.
At this point, we have completed the deployment of KeDao Cloud on the local computer, and through the intranet penetration data tunnel generated by ngrok intranet penetration, we can access the computer at home (or office) on the public Internet, conveniently access the required information and files, and make our computer a real private cloud server.

I have devoted myself to the research of technology for more than 30 years. I am proficient in various languages such as Java, Linux, JavaScript, PHP, CSS, etc. I have made many contributions in the field of open source. I have established a developer documentation site to share some problems in technology development for everyone to read.
