2024-07-12
한어Русский языкEnglishFrançaisIndonesianSanskrit日本語DeutschPortuguêsΕλληνικάespañolItalianoSuomalainenLatina
1. Installez Perl
Adresse d'installation : https://strawberryperl.com, sélectionnez simplement le programme d'installation msi
2. Installez sed pour Windows
Adresse de téléchargement : https://sourceforge.net/projects/gnuwin32/files/sed/. Après avoir exécuté le programme d'installation, configurez le répertoire bin du package d'installation sur la variable d'environnement.
3. Installez la version communautaire de Visual Studio 2022
4. Dehttps://github.com/nginx/nginxTéléchargez le code source de la version 1.26.1 et créez un nouveau répertoire objslib dans le code source
Téléchargez le module nginx-http-flv :https://github.com/winshining/nginx-http-flv-module(Version 1.2.10)
Télécharger PCRE :https://github.com/PCRE2Project/pcre2/tags(Version 10.2.39)
Téléchargez zlib :https://github.com/madler/zlib(Version 1.3.1)
Téléchargez openssl :https://www.openssl.org/source/index.html(Version 3.0.13)
Copiez nginx-http-flv-module, openssl, pcre et zlib dans ce répertoire et décompressez-le
5. Afficher les paramètres de compilation nginx
Téléchargez la version compilée de nginx-1.26.1, exécutez nginx.exe -V et obtenez les résultats suivants :
configure arguments: --with-cc=cl --builddir=objs.msvc8 --with-debug --prefix= --conf-path=conf/nginx.conf --pid-path=logs/nginx.pid --http-log-path=logs/access.log --error-log-path=logs/error.log --sbin-path=nginx.exe --http-client-body-temp-path=temp/client_body_temp --http-proxy-temp-path=temp/proxy_temp --http-fastcgi-temp-path=temp/fastcgi_temp --http-scgi-temp-path=temp/scgi_temp --http-uwsgi-temp-path=temp/uwsgi_temp --with-cc-opt=-DFD_SETSIZE=1024 --with-pcre=objs.msvc8/lib/pcre2-10.39 --with-zlib=objs.msvc8/lib/zlib-1.3.1 --with-http_v2_module --with-http_realip_module --with-http_addition_module --with-http_sub_module --with-http_dav_module --with-http_stub_status_module --with-http_flv_module --with-http_mp4_module --with-http_gunzip_module --with-http_gzip_static_module --with-http_auth_request_module --with-http_random_index_module --with-http_secure_link_module --with-http_slice_module --with-mail --with-stream --with-stream_realip_module --with-stream_ssl_preread_module --with-openssl=objs.msvc8/lib/openssl-3.0.13 --with-openssl-opt='no-asm no-tests -D_WIN32_WINNT=0x0501' --with-http_ssl_module --with-mail_ssl_module --with-stream_ssl_moduleModifiez certains paramètres :
--with-pcre=objs/lib/pcre2-10.39 --with-zlib=objs/lib/zlib-1.3.1 --with-openssl=objs/lib/openssl-3.0.13 --add-module=objs/lib/nginx-http-flv-module-1.2.107. Configurer
Exécutez MSYS2 ou MINGW64, entrez le code source nginx nginx-release-1.26.1 et exécutez la commande :
auto/configure --with-cc=cl --builddir=objs.msvc8 --with-debug --prefix= --conf-path=conf/nginx.conf --pid-path=logs/nginx.pid --http-log-path=logs/access.log --error-log-path=logs/error.log --sbin-path=nginx.exe --http-client-body-temp-path=temp/client_body_temp --http-proxy-temp-path=temp/proxy_temp --http-fastcgi-temp-path=temp/fastcgi_temp --http-scgi-temp-path=temp/scgi_temp --http-uwsgi-temp-path=temp/uwsgi_temp --with-cc-opt=-DFD_SETSIZE=1024 --with-http_v2_module --with-http_realip_module --with-http_addition_module --with-http_sub_module --with-http_dav_module --with-http_stub_status_module --with-http_mp4_module --with-http_gunzip_module --with-http_gzip_static_module --with-http_auth_request_module --with-http_random_index_module --with-http_secure_link_module --with-http_slice_module --with-mail --with-stream --with-stream_realip_module --with-stream_ssl_preread_module --with-openssl-opt='no-asm no-tests -D_WIN32_WINNT=0x0501' --with-http_ssl_module --with-mail_ssl_module --with-stream_ssl_module --with-pcre=objs/lib/pcre2-10.39 --with-zlib=objs/lib/zlib-1.3.1 --with-openssl=objs/lib/openssl-3.0.13 --add-module=objs/lib/nginx-http-flv-module-1.2.10Modifiez objs.msvc8/Makefile et modifiez la troisième ligne :
CFLAGS = -O2 -W4 -WX -nologo -MT -Zi -Fdobjs.msvc8/nginx.pdb -DFD_SETSIZE=1024 -DNO_SYS_TYPES_HSupprimez -WX, ajoutez -MP
CFLAGS = -O2 -W4 -MP -nologo -MT -Zi -Fdobjs.msvc8/nginx.pdb -DFD_SETSIZE=1024 -DNO_SYS_TYPES_H8. Compiler
Ouvrez l'invite de commande du développeur pour VS 2022, entrez le répertoire source nginx, entrez la commande : nmake et appuyez sur Entrée.
Le temps de compilation prend 10 à 30 minutes. Une fois terminé, copiez nginx.exe sous objs.msvc8 dans le répertoire du code source nginx.
Créez de nouveaux répertoires journaux, temp et html.
9. Installez ffmpeg
Téléchargez et installez, et définissez le répertoire bin ffmpeg comme variable d'environnement
Modifier conf/nginx.conf
- worker_processes 1;
-
- events {
- worker_connections 1024;
- }
-
- http {
- include mime.types;
- default_type application/octet-stream;
-
- sendfile on;
- keepalive_timeout 65;
-
- server {
- listen 8553;
- server_name localhost;
-
- location / {
- root html;
- index index.html index.htm;
- }
-
- location /live {
- flv_live on;
- chunked_transfer_encoding on;
- add_header 'Access-Control-Allow-Origin' '*';
- add_header 'Access-Control-Allow-Credentials' 'true';
- add_header 'Access-Control-Allow-Methods' '*';
- }
-
- location /hls {
- add_header 'Access-Control-Allow-Origin' '*';
- types {
- application/vnd.apple.mpegurl m3u8;
- video/mp2t ts;
- }
- alias /test;
- expires -1;
- }
-
- location /stat {
- rtmp_stat all;
- rtmp_stat_stylesheet stat.xsl;
- }
-
- location /stat.xsl {
- root /usr/local/nginx/nginx-http-flv-module;
- }
- }
- }
-
- rtmp {
- server {
- listen 1938; #nginx监听的rtmp推流/拉流端口
- application myapp {
- live on; #当推流时,rtmp路径中的app(rtmp中的一个概念)匹配myapp时,开始直播
- meta off;
- gop_cache on;
- allow play all;
- record off;
- hls on;
- hls_path /test;
- hls_fragment 1s;
- }
- }
- }
Flux push ffmpeg (caméra Haikang)
- ffmpeg -i rtsp://用户名:密码@ip:554/H.264/ch1/main/av_stream -c:v libx264 -an -f
- flv rtmp://127.0.0.1:1938/myapp/main
flv.html
- <html>
- <head>
- <meta content="text/html; charset=utf-8" http-equiv="Content-Type">
- <title>flv.js demo</title>
- <style>
- .mainContainer {
- display: block;
- width: 1024px;
- margin-left: auto;
- margin-right: auto;
- }
-
- .urlInput {
- display: block;
- width: 100%;
- margin-left: auto;
- margin-right: auto;
- margin-top: 8px;
- margin-bottom: 8px;
- }
-
- .centeredVideo {
- display: block;
- width: 100%;
- height: 576px;
- margin-left: auto;
- margin-right: auto;
- margin-bottom: auto;
- }
-
- .controls {
- display: block;
- width: 100%;
- text-align: center;
- margin-left: auto;
- margin-right: auto;
- }
- </style>
- </head>
-
- <body>
-
- <p class="mainContainer">
- <video name="videoElement" id="videoElement" class="centeredVideo" controls muted autoplay width="1024"
- height="576">
- Your browser is too old which doesn't support HTML5 video.
- </video>
- </p>
-
- <script src="flv.min.js"></script>
-
- <script>
-
- function start() {
- if (flvjs.isSupported()) {
- var videoElement = document.getElementById('videoElement');
- var flvPlayer = flvjs.createPlayer({
- type: 'flv',
- url: 'http://ip:8553/live?port=1938&app=myapp&stream=main'
- });
- flvPlayer.attachMediaElement(videoElement);
- flvPlayer.load();
- flvPlayer.play();
- }
- }
-
- document.addEventListener('DOMContentLoaded', function () {
- start();
- });
- </script>
- </body>
-
- </html>
Adresse de téléchargement flv.min.js :http://flv.jnyzh.cn/flv.min.js
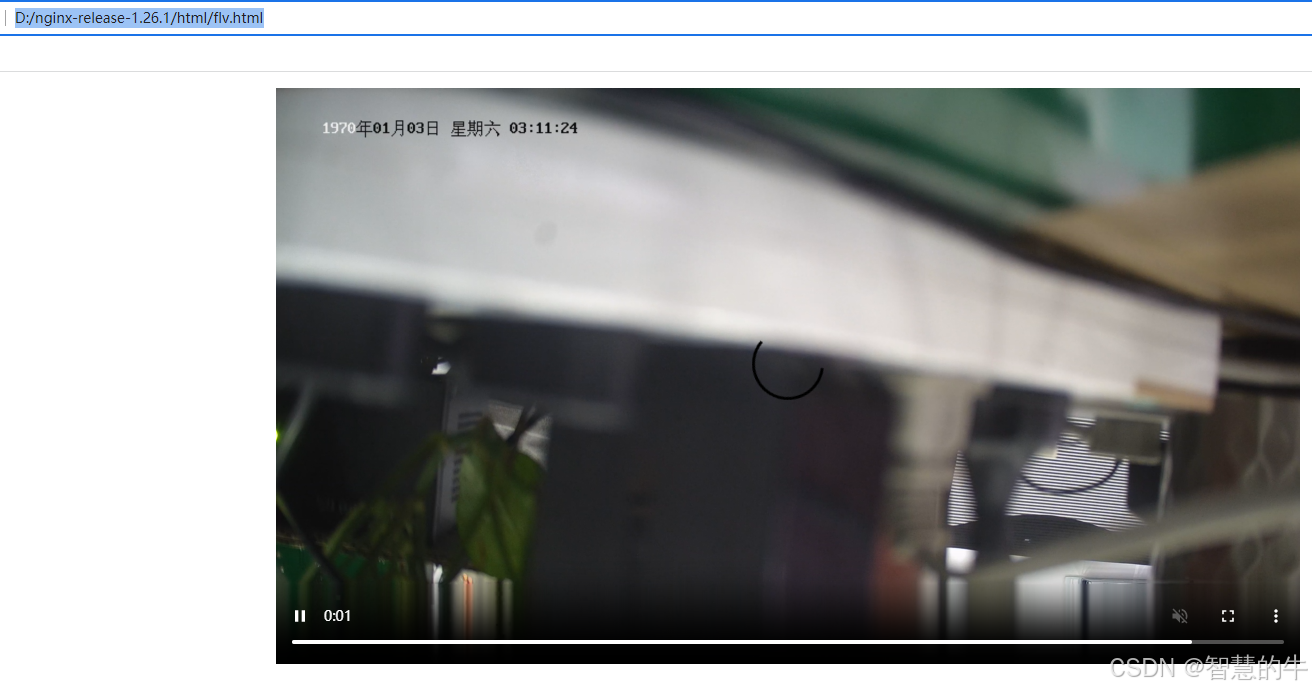
L'effet est le suivant :

Il se consacre à la recherche technologique depuis plus de 30 ans et maîtrise divers langages tels que java, linux, javascript, php, css, etc. Il a apporté de nombreuses contributions dans le domaine de l'open source. station de documentation pour les développeurs pour partager certains problèmes de développement technologique pour référence future.

