minhas informações de contato
Correspondência[email protected]
2024-07-12
한어Русский языкEnglishFrançaisIndonesianSanskrit日本語DeutschPortuguêsΕλληνικάespañolItalianoSuomalainenLatina
1. Instale o Perl
Endereço de instalação: https://strawberryperl.com, basta selecionar o instalador msi
2. Instale sed para Windows
Endereço de download: https://sourceforge.net/projects/gnuwin32/files/sed/ Após executar o programa de instalação, configure o diretório bin do pacote de instalação para a variável de ambiente.
3. Instale a versão da comunidade do Visual Studio 2022
4. Dehttps://github.com/nginx/nginxBaixe o código fonte da versão 1.26.1 e crie um novo diretório objslib no código fonte
Baixe o módulo nginx-http-flv:https://github.com/winshining/nginx-http-flv-module(Versão 1.2.10)
Baixe o pcre:https://github.com/PCRE2Project/pcre2/tags(Versão 10.2.39)
Baixar zlib:https://github.com/madler/zlib(Versão 1.3.1)
Baixe o OpenSSL:https://www.openssl.org/source/index.html(Versão 3.0.13)
Copie nginx-http-flv-module, openssl, pcre e zlib para este diretório e descompacte-o
5. Veja os parâmetros de compilação do nginx
Baixe a versão compilada do nginx-1.26.1, execute nginx.exe -V e obtenha os seguintes resultados:
configure arguments: --with-cc=cl --builddir=objs.msvc8 --with-debug --prefix= --conf-path=conf/nginx.conf --pid-path=logs/nginx.pid --http-log-path=logs/access.log --error-log-path=logs/error.log --sbin-path=nginx.exe --http-client-body-temp-path=temp/client_body_temp --http-proxy-temp-path=temp/proxy_temp --http-fastcgi-temp-path=temp/fastcgi_temp --http-scgi-temp-path=temp/scgi_temp --http-uwsgi-temp-path=temp/uwsgi_temp --with-cc-opt=-DFD_SETSIZE=1024 --with-pcre=objs.msvc8/lib/pcre2-10.39 --with-zlib=objs.msvc8/lib/zlib-1.3.1 --with-http_v2_module --with-http_realip_module --with-http_addition_module --with-http_sub_module --with-http_dav_module --with-http_stub_status_module --with-http_flv_module --with-http_mp4_module --with-http_gunzip_module --with-http_gzip_static_module --with-http_auth_request_module --with-http_random_index_module --with-http_secure_link_module --with-http_slice_module --with-mail --with-stream --with-stream_realip_module --with-stream_ssl_preread_module --with-openssl=objs.msvc8/lib/openssl-3.0.13 --with-openssl-opt='no-asm no-tests -D_WIN32_WINNT=0x0501' --with-http_ssl_module --with-mail_ssl_module --with-stream_ssl_moduleModifique alguns parâmetros:
--with-pcre=objs/lib/pcre2-10.39 --with-zlib=objs/lib/zlib-1.3.1 --with-openssl=objs/lib/openssl-3.0.13 --add-module=objs/lib/nginx-http-flv-module-1.2.107、configurar
Execute MSYS2 ou MINGW64, insira o código-fonte nginx nginx-release-1.26.1 e execute o comando:
auto/configure --with-cc=cl --builddir=objs.msvc8 --with-debug --prefix= --conf-path=conf/nginx.conf --pid-path=logs/nginx.pid --http-log-path=logs/access.log --error-log-path=logs/error.log --sbin-path=nginx.exe --http-client-body-temp-path=temp/client_body_temp --http-proxy-temp-path=temp/proxy_temp --http-fastcgi-temp-path=temp/fastcgi_temp --http-scgi-temp-path=temp/scgi_temp --http-uwsgi-temp-path=temp/uwsgi_temp --with-cc-opt=-DFD_SETSIZE=1024 --with-http_v2_module --with-http_realip_module --with-http_addition_module --with-http_sub_module --with-http_dav_module --with-http_stub_status_module --with-http_mp4_module --with-http_gunzip_module --with-http_gzip_static_module --with-http_auth_request_module --with-http_random_index_module --with-http_secure_link_module --with-http_slice_module --with-mail --with-stream --with-stream_realip_module --with-stream_ssl_preread_module --with-openssl-opt='no-asm no-tests -D_WIN32_WINNT=0x0501' --with-http_ssl_module --with-mail_ssl_module --with-stream_ssl_module --with-pcre=objs/lib/pcre2-10.39 --with-zlib=objs/lib/zlib-1.3.1 --with-openssl=objs/lib/openssl-3.0.13 --add-module=objs/lib/nginx-http-flv-module-1.2.10Modifique objs.msvc8/Makefile e modifique a terceira linha:
CFLAGS = -O2 -W4 -WX -nologo -MT -Zi -Fdobjs.msvc8/nginx.pdb -DFD_SETSIZE=1024 -DNO_SYS_TYPES_HRemova -WX, adicione -MP
CFLAGS = -O2 -W4 -MP -nologo -MT -Zi -Fdobjs.msvc8/nginx.pdb -DFD_SETSIZE=1024 -DNO_SYS_TYPES_H8. Compilar
Abra o prompt de comando do desenvolvedor para VS 2022, entre no diretório de origem nginx, digite o comando: nmake e pressione Enter
O tempo de compilação leva de 10 a 30 minutos. Após a conclusão, copie nginx.exe em objs.msvc8 para o diretório do código-fonte nginx.
Crie novos diretórios logs, temp e html.
9. Instale o ffmpeg
Baixe e instale e defina o diretório ffmpeg bin como uma variável de ambiente
Modifique conf/nginx.conf
- worker_processes 1;
-
- events {
- worker_connections 1024;
- }
-
- http {
- include mime.types;
- default_type application/octet-stream;
-
- sendfile on;
- keepalive_timeout 65;
-
- server {
- listen 8553;
- server_name localhost;
-
- location / {
- root html;
- index index.html index.htm;
- }
-
- location /live {
- flv_live on;
- chunked_transfer_encoding on;
- add_header 'Access-Control-Allow-Origin' '*';
- add_header 'Access-Control-Allow-Credentials' 'true';
- add_header 'Access-Control-Allow-Methods' '*';
- }
-
- location /hls {
- add_header 'Access-Control-Allow-Origin' '*';
- types {
- application/vnd.apple.mpegurl m3u8;
- video/mp2t ts;
- }
- alias /test;
- expires -1;
- }
-
- location /stat {
- rtmp_stat all;
- rtmp_stat_stylesheet stat.xsl;
- }
-
- location /stat.xsl {
- root /usr/local/nginx/nginx-http-flv-module;
- }
- }
- }
-
- rtmp {
- server {
- listen 1938; #nginx监听的rtmp推流/拉流端口
- application myapp {
- live on; #当推流时,rtmp路径中的app(rtmp中的一个概念)匹配myapp时,开始直播
- meta off;
- gop_cache on;
- allow play all;
- record off;
- hls on;
- hls_path /test;
- hls_fragment 1s;
- }
- }
- }
fluxo push ffmpeg (câmera Haikang)
- ffmpeg -i rtsp://用户名:密码@ip:554/H.264/ch1/main/av_stream -c:v libx264 -an -f
- flv rtmp://127.0.0.1:1938/myapp/main
flv.html
- <html>
- <head>
- <meta content="text/html; charset=utf-8" http-equiv="Content-Type">
- <title>flv.js demo</title>
- <style>
- .mainContainer {
- display: block;
- width: 1024px;
- margin-left: auto;
- margin-right: auto;
- }
-
- .urlInput {
- display: block;
- width: 100%;
- margin-left: auto;
- margin-right: auto;
- margin-top: 8px;
- margin-bottom: 8px;
- }
-
- .centeredVideo {
- display: block;
- width: 100%;
- height: 576px;
- margin-left: auto;
- margin-right: auto;
- margin-bottom: auto;
- }
-
- .controls {
- display: block;
- width: 100%;
- text-align: center;
- margin-left: auto;
- margin-right: auto;
- }
- </style>
- </head>
-
- <body>
-
- <p class="mainContainer">
- <video name="videoElement" id="videoElement" class="centeredVideo" controls muted autoplay width="1024"
- height="576">
- Your browser is too old which doesn't support HTML5 video.
- </video>
- </p>
-
- <script src="flv.min.js"></script>
-
- <script>
-
- function start() {
- if (flvjs.isSupported()) {
- var videoElement = document.getElementById('videoElement');
- var flvPlayer = flvjs.createPlayer({
- type: 'flv',
- url: 'http://ip:8553/live?port=1938&app=myapp&stream=main'
- });
- flvPlayer.attachMediaElement(videoElement);
- flvPlayer.load();
- flvPlayer.play();
- }
- }
-
- document.addEventListener('DOMContentLoaded', function () {
- start();
- });
- </script>
- </body>
-
- </html>
Endereço de download flv.min.js:Português Português
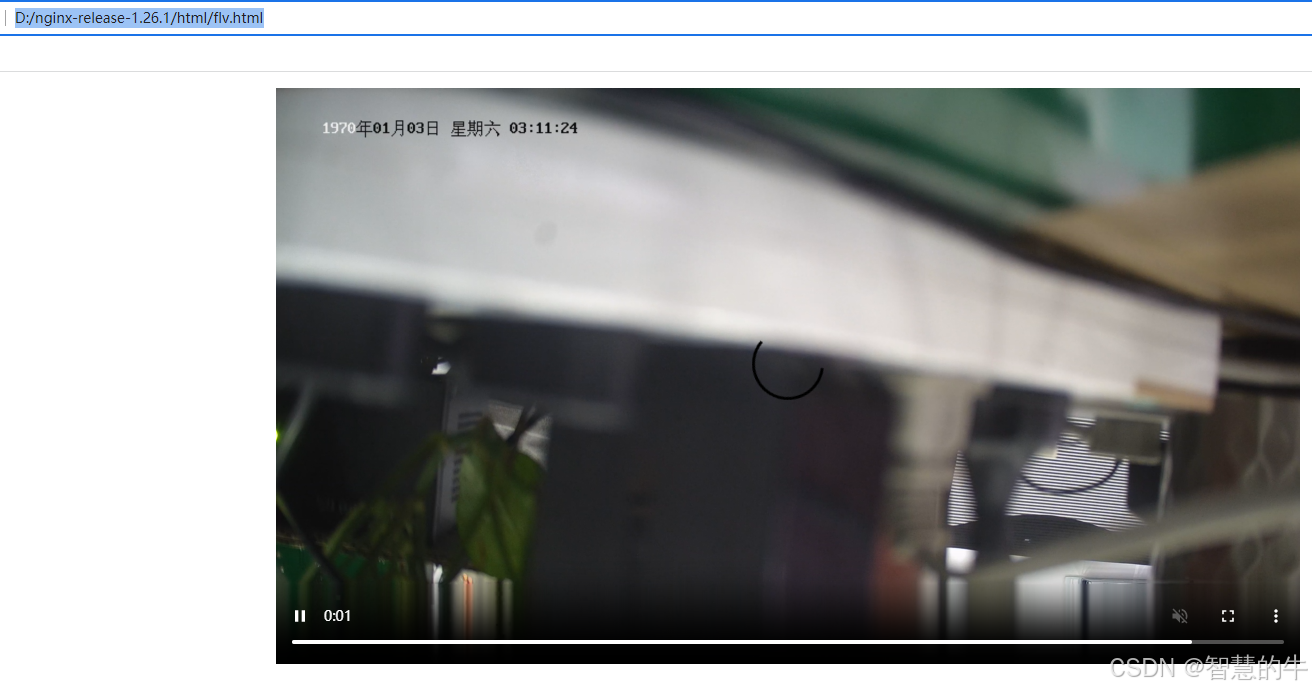
O efeito é o seguinte:
