
le mie informazioni di contatto
Posta[email protected]
2024-07-12
한어Русский языкEnglishFrançaisIndonesianSanskrit日本語DeutschPortuguêsΕλληνικάespañolItalianoSuomalainenLatina
1. Installa perl
Indirizzo di installazione: https://strawberryperl.com, basta selezionare il programma di installazione msi
2. Installa sed per Windows
Indirizzo di download: https://sourceforge.net/projects/gnuwin32/files/sed/ Dopo aver eseguito il programma di installazione, configurare la directory bin del pacchetto di installazione sulla variabile di ambiente.
3. Installa la versione della community di Visual Studio 2022
4. DaItaliano: Italiano: https://github.com/nginx/nginxScarica il codice sorgente della versione 1.26.1 e crea una nuova directory objslib nel codice sorgente
Scarica il modulo nginx-http-flv:https://github.com/winshining/nginx-http-flv-module(Versione 1.2.10)
Scarica pcre:Italiano: Italiano: https://github.com/PCRE2Project/pcre2/tags(Versione 10.2.39)
Scarica zlib:Italiano: Italiano: https://github.com/madler/zlib(Versione 1.3.1)
Scarica openssl:Italiano: Italiano: https://www.openssl.org/source/index.html(Versione 3.0.13)
Copia nginx-http-flv-module, openssl, pcre e zlib in questa directory e decomprimilo
5. Visualizza i parametri di compilazione nginx
Scarica la versione compilata di nginx-1.26.1, esegui nginx.exe -V e ottieni i seguenti risultati:
configure arguments: --with-cc=cl --builddir=objs.msvc8 --with-debug --prefix= --conf-path=conf/nginx.conf --pid-path=logs/nginx.pid --http-log-path=logs/access.log --error-log-path=logs/error.log --sbin-path=nginx.exe --http-client-body-temp-path=temp/client_body_temp --http-proxy-temp-path=temp/proxy_temp --http-fastcgi-temp-path=temp/fastcgi_temp --http-scgi-temp-path=temp/scgi_temp --http-uwsgi-temp-path=temp/uwsgi_temp --with-cc-opt=-DFD_SETSIZE=1024 --with-pcre=objs.msvc8/lib/pcre2-10.39 --with-zlib=objs.msvc8/lib/zlib-1.3.1 --with-http_v2_module --with-http_realip_module --with-http_addition_module --with-http_sub_module --with-http_dav_module --with-http_stub_status_module --with-http_flv_module --with-http_mp4_module --with-http_gunzip_module --with-http_gzip_static_module --with-http_auth_request_module --with-http_random_index_module --with-http_secure_link_module --with-http_slice_module --with-mail --with-stream --with-stream_realip_module --with-stream_ssl_preread_module --with-openssl=objs.msvc8/lib/openssl-3.0.13 --with-openssl-opt='no-asm no-tests -D_WIN32_WINNT=0x0501' --with-http_ssl_module --with-mail_ssl_module --with-stream_ssl_moduleModifica alcuni parametri:
--with-pcre=objs/lib/pcre2-10.39 --with-zlib=objs/lib/zlib-1.3.1 --with-openssl=objs/lib/openssl-3.0.13 --add-module=objs/lib/nginx-http-flv-module-1.2.107、configurare
Esegui MSYS2 o MINGW64, inserisci il codice sorgente nginx nginx-release-1.26.1 ed esegui il comando:
auto/configure --with-cc=cl --builddir=objs.msvc8 --with-debug --prefix= --conf-path=conf/nginx.conf --pid-path=logs/nginx.pid --http-log-path=logs/access.log --error-log-path=logs/error.log --sbin-path=nginx.exe --http-client-body-temp-path=temp/client_body_temp --http-proxy-temp-path=temp/proxy_temp --http-fastcgi-temp-path=temp/fastcgi_temp --http-scgi-temp-path=temp/scgi_temp --http-uwsgi-temp-path=temp/uwsgi_temp --with-cc-opt=-DFD_SETSIZE=1024 --with-http_v2_module --with-http_realip_module --with-http_addition_module --with-http_sub_module --with-http_dav_module --with-http_stub_status_module --with-http_mp4_module --with-http_gunzip_module --with-http_gzip_static_module --with-http_auth_request_module --with-http_random_index_module --with-http_secure_link_module --with-http_slice_module --with-mail --with-stream --with-stream_realip_module --with-stream_ssl_preread_module --with-openssl-opt='no-asm no-tests -D_WIN32_WINNT=0x0501' --with-http_ssl_module --with-mail_ssl_module --with-stream_ssl_module --with-pcre=objs/lib/pcre2-10.39 --with-zlib=objs/lib/zlib-1.3.1 --with-openssl=objs/lib/openssl-3.0.13 --add-module=objs/lib/nginx-http-flv-module-1.2.10Modifica objs.msvc8/Makefile e modifica la terza riga:
CFLAGS = -O2 -W4 -WX -nologo -MT -Zi -Fdobjs.msvc8/nginx.pdb -DFD_SETSIZE=1024 -DNO_SYS_TYPES_HRimuovi -WX, aggiungi -MP
CFLAGS = -O2 -W4 -MP -nologo -MT -Zi -Fdobjs.msvc8/nginx.pdb -DFD_SETSIZE=1024 -DNO_SYS_TYPES_H8. Compila
Apri il prompt dei comandi per gli sviluppatori per VS 2022, inserisci la directory dei sorgenti nginx, inserisci il comando: nmake e premi Invio
Il tempo di compilazione richiede 10-30 minuti. Al termine, copiare nginx.exe in objs.msvc8 nella directory del codice sorgente nginx.
Crea nuove directory logs, temp e html.
9. Installa ffmpeg
Scarica, installa e imposta la directory bin ffmpeg come variabile di ambiente
Modifica conf/nginx.conf
- worker_processes 1;
-
- events {
- worker_connections 1024;
- }
-
- http {
- include mime.types;
- default_type application/octet-stream;
-
- sendfile on;
- keepalive_timeout 65;
-
- server {
- listen 8553;
- server_name localhost;
-
- location / {
- root html;
- index index.html index.htm;
- }
-
- location /live {
- flv_live on;
- chunked_transfer_encoding on;
- add_header 'Access-Control-Allow-Origin' '*';
- add_header 'Access-Control-Allow-Credentials' 'true';
- add_header 'Access-Control-Allow-Methods' '*';
- }
-
- location /hls {
- add_header 'Access-Control-Allow-Origin' '*';
- types {
- application/vnd.apple.mpegurl m3u8;
- video/mp2t ts;
- }
- alias /test;
- expires -1;
- }
-
- location /stat {
- rtmp_stat all;
- rtmp_stat_stylesheet stat.xsl;
- }
-
- location /stat.xsl {
- root /usr/local/nginx/nginx-http-flv-module;
- }
- }
- }
-
- rtmp {
- server {
- listen 1938; #nginx监听的rtmp推流/拉流端口
- application myapp {
- live on; #当推流时,rtmp路径中的app(rtmp中的一个概念)匹配myapp时,开始直播
- meta off;
- gop_cache on;
- allow play all;
- record off;
- hls on;
- hls_path /test;
- hls_fragment 1s;
- }
- }
- }
flusso push ffmpeg (fotocamera Haikang)
- ffmpeg -i rtsp://用户名:密码@ip:554/H.264/ch1/main/av_stream -c:v libx264 -an -f
- flv rtmp://127.0.0.1:1938/myapp/main
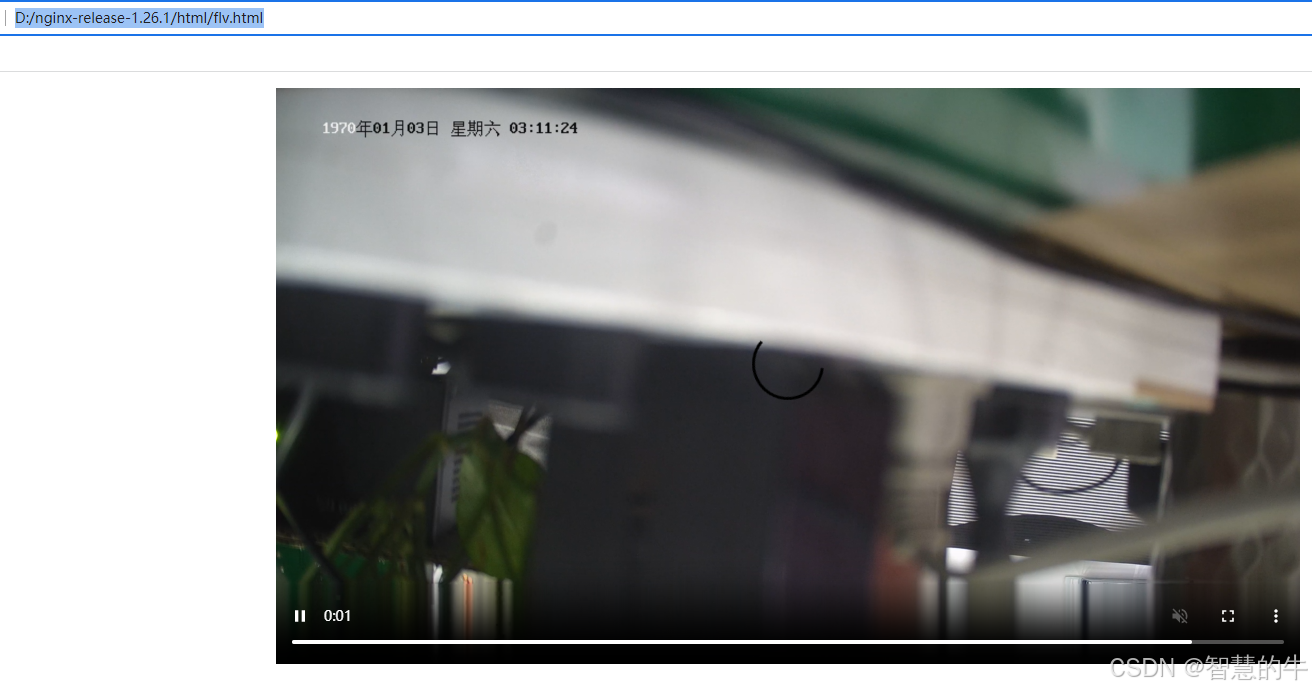
flv.html
- <html>
- <head>
- <meta content="text/html; charset=utf-8" http-equiv="Content-Type">
- <title>flv.js demo</title>
- <style>
- .mainContainer {
- display: block;
- width: 1024px;
- margin-left: auto;
- margin-right: auto;
- }
-
- .urlInput {
- display: block;
- width: 100%;
- margin-left: auto;
- margin-right: auto;
- margin-top: 8px;
- margin-bottom: 8px;
- }
-
- .centeredVideo {
- display: block;
- width: 100%;
- height: 576px;
- margin-left: auto;
- margin-right: auto;
- margin-bottom: auto;
- }
-
- .controls {
- display: block;
- width: 100%;
- text-align: center;
- margin-left: auto;
- margin-right: auto;
- }
- </style>
- </head>
-
- <body>
-
- <p class="mainContainer">
- <video name="videoElement" id="videoElement" class="centeredVideo" controls muted autoplay width="1024"
- height="576">
- Your browser is too old which doesn't support HTML5 video.
- </video>
- </p>
-
- <script src="flv.min.js"></script>
-
- <script>
-
- function start() {
- if (flvjs.isSupported()) {
- var videoElement = document.getElementById('videoElement');
- var flvPlayer = flvjs.createPlayer({
- type: 'flv',
- url: 'http://ip:8553/live?port=1938&app=myapp&stream=main'
- });
- flvPlayer.attachMediaElement(videoElement);
- flvPlayer.load();
- flvPlayer.play();
- }
- }
-
- document.addEventListener('DOMContentLoaded', function () {
- start();
- });
- </script>
- </body>
-
- </html>
Indirizzo di download di flv.min.js:http://flv.jnyzh.cn/flv.min.js
L'effetto è il seguente:

Si dedica alla ricerca tecnologica da più di 30 anni ed è esperto in vari linguaggi come Java, Linux, Javascript, php, css, ecc. Ha dato numerosi contributi nel campo dell'open source stazione di documentazione per gli sviluppatori per condividere alcuni problemi nello sviluppo della tecnologia per riferimento futuro

Posta[email protected]