2024-07-12
한어Русский языкEnglishFrançaisIndonesianSanskrit日本語DeutschPortuguêsΕλληνικάespañolItalianoSuomalainenLatina
This article is just my notes, I don't think you can understand it all. If you have any questions, please comment
1. Open PS
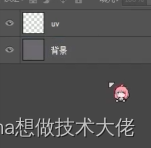
Drag in the UV map, create a new layer, set the background color to gray, and change the layer name
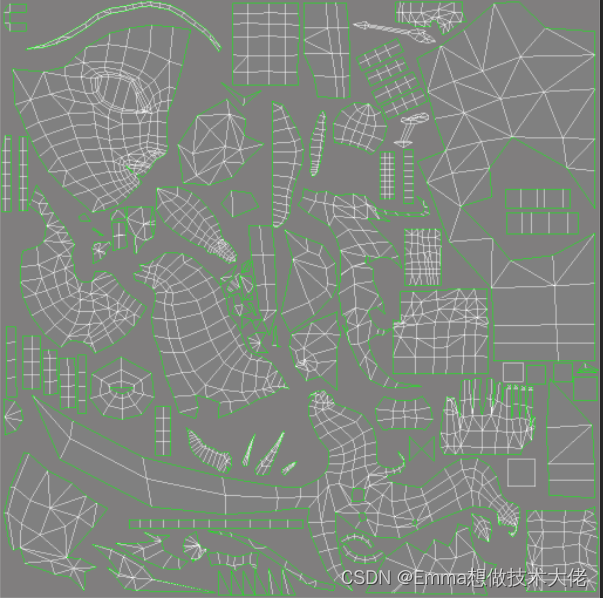
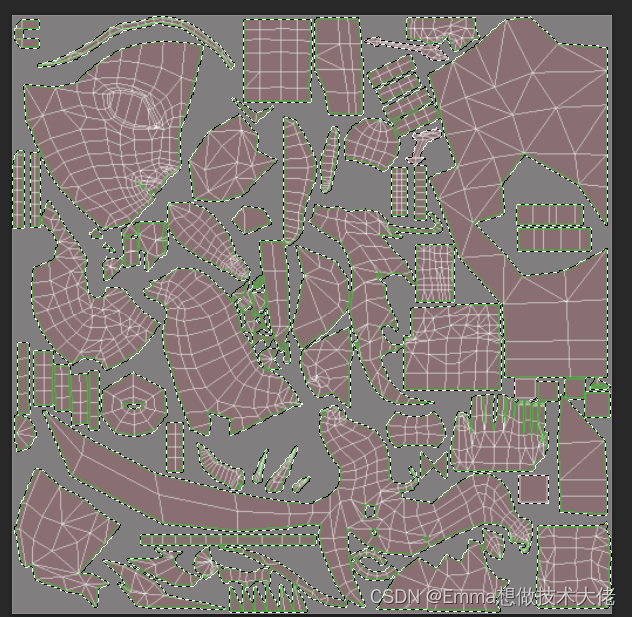
2. Press z to shrink the UV layer and drag in the solid UV image (for better coloring, such as selecting the magic wand tool)
3. But it is still a little imperfect. ctrl+solid texture
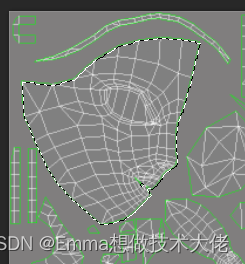
4. Select the UV layer, change the pixels, and select 2 pixels
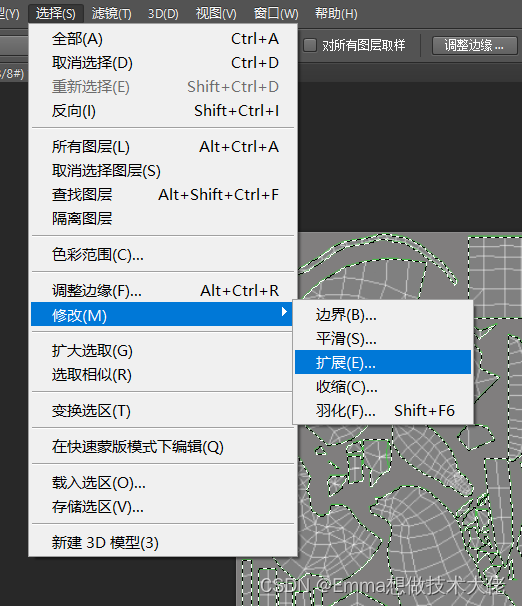
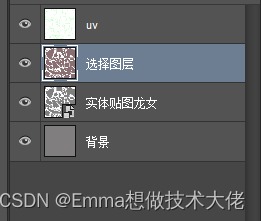
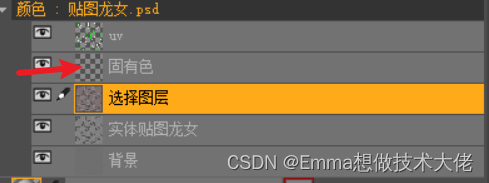
5. Create a new layer and select the layer to facilitate the selection
Add another color
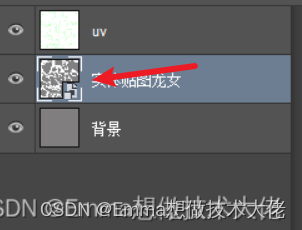
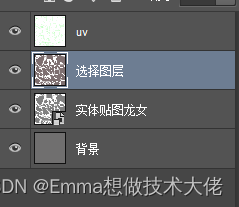
Make sure the layers are in this order
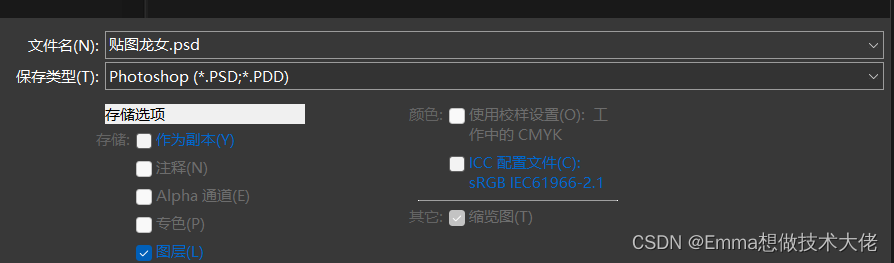
7. Storage
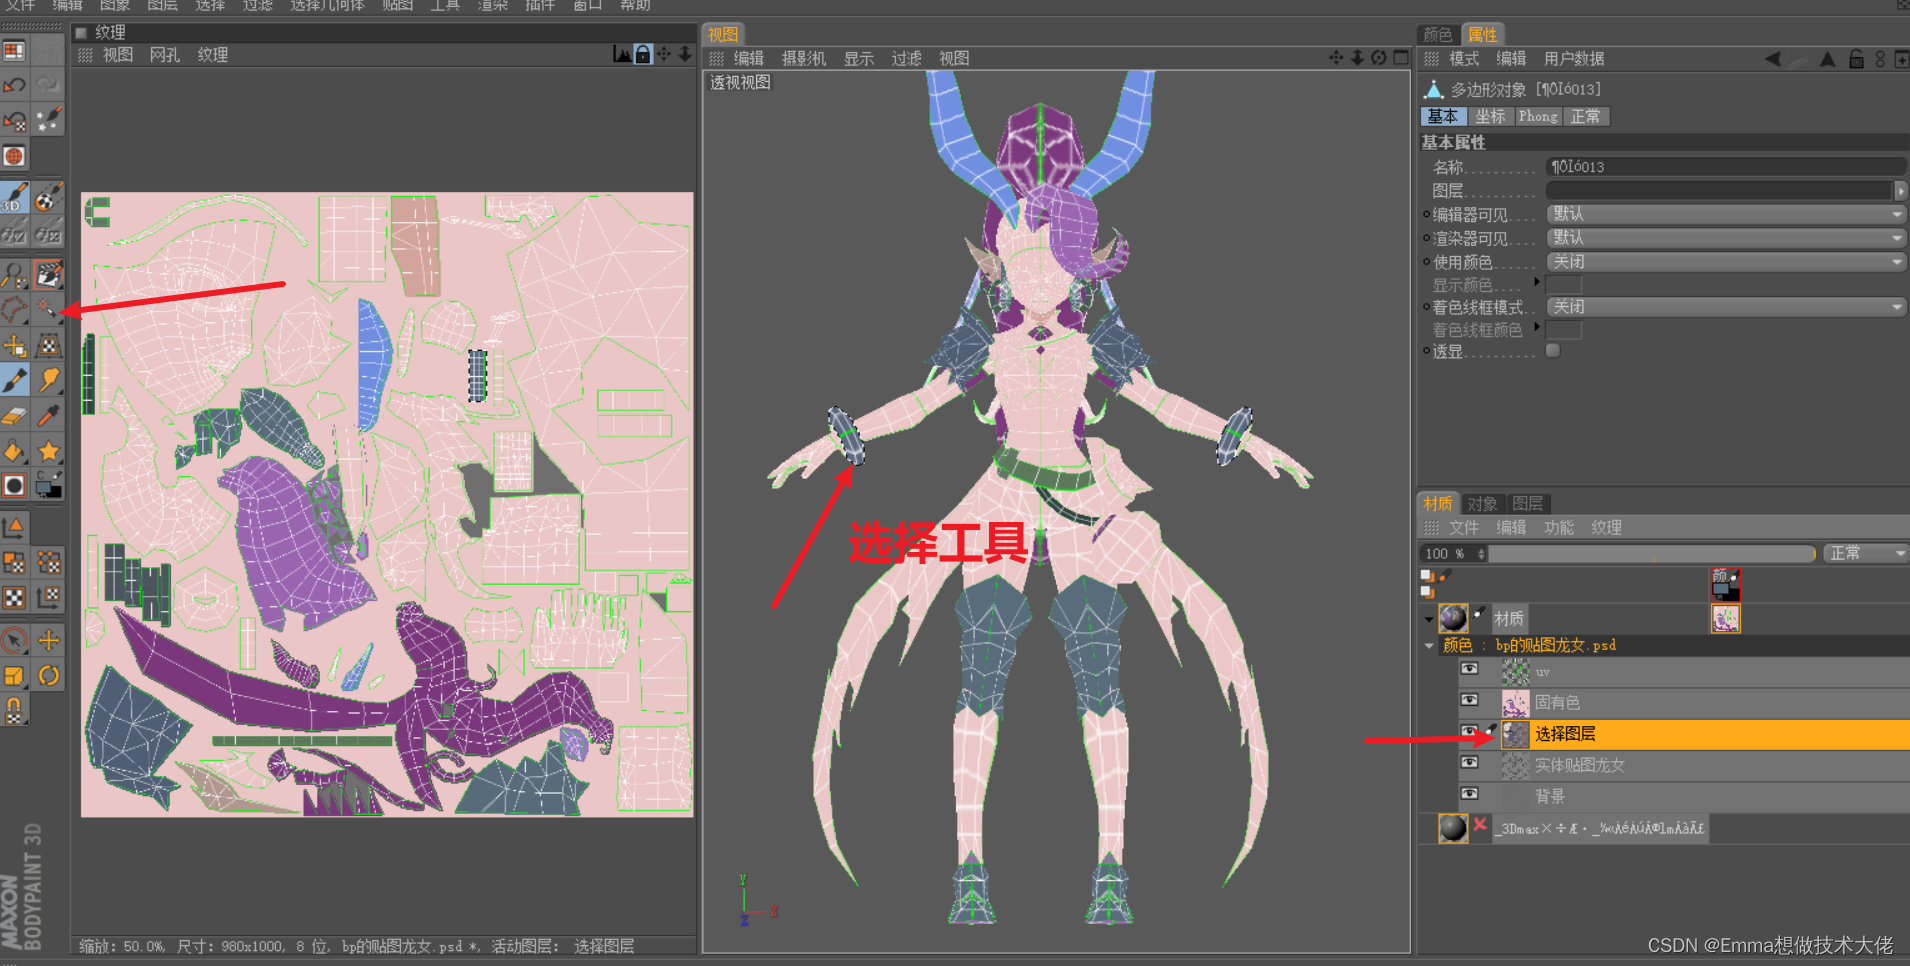
1. Drag in the obj model (note that you should center the model coordinates in max before dragging it in, and then make sure it is not too small)
Then drag the texture saved in PS onto the model
![]()
Note: bp basic operation
Alt + left mouse button to rotate
Alt + middle mouse button to pan
2.
Display-Constant Coloring
Parallel View
Create a new layer and start applying the inherent color
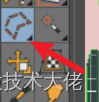
3. As mentioned before, the selection layer is convenient for selecting areas. First select the selection layer, select the things you want to color, and then color them in the paint bucket.
When applying the inherent color, start with a relatively dark color, and then you will have room to brighten it later.

The textures are glued together. You can use the box selection tool to determine the size according to your specific needs.
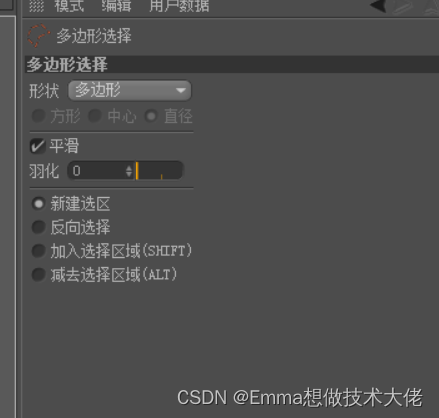
If you find it troublesome, you can also use the brush to paint a large area directly. ctrl + d to cancel the selection
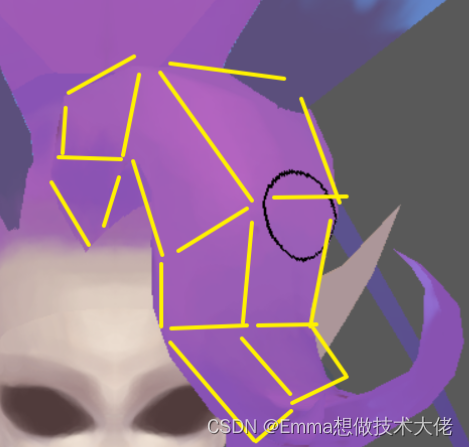
To put it simply, it is volume and color. Knowing these two points will allow you to draw most things.
Personally, the most important thing for coloring is tovolumeDraw well, details are just a matter of time.
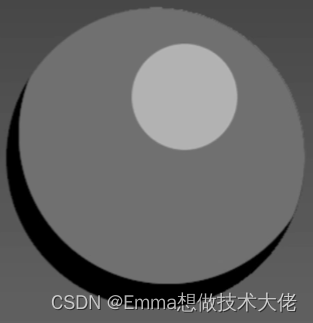
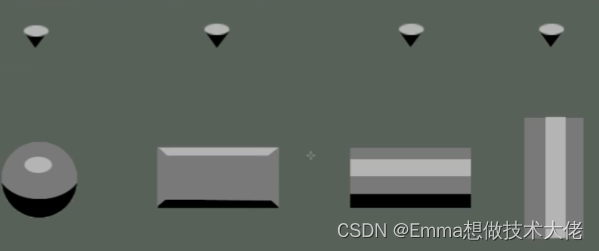
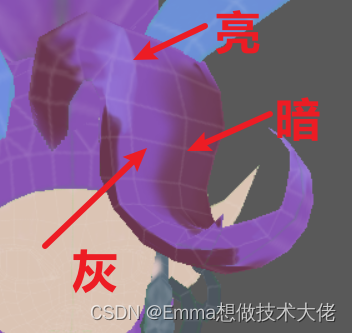
1. Volume is black (backlight), white (light), gray (side light), among which the gray area accounts formaximum
If we have to give a ratio, then the ratio of gray, white and black is about 7:1:2
So it is important to know where the light source is.
The light source in general games is at a 45° angle from the front (back)
The closer to the light source, the brighter it is; the farther away from the light source, the darker it is.
In fact, gray is the inherent color, and the inherent color is the gray color range:
2. Blocky feeling
The first step is to create a sense of block, using a large brush (light gray and dark) instead of focusing on details right away.
Gray is actually the inherent color
Light source top 90°:
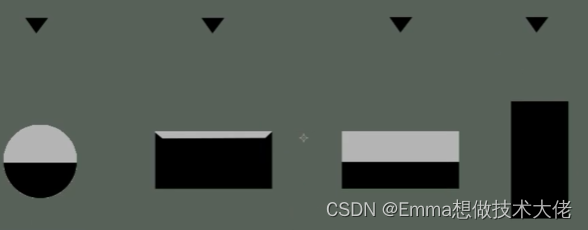
Light source 45° upward angle:
The three elements of color: hue, saturation, and brightness
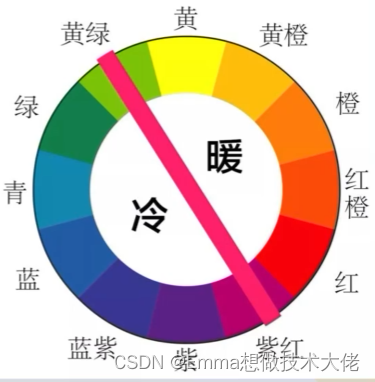
1. The correct formula for expressing the volume of an object: bright color + middle color + dark color + transition
Use analogous colors to change brightness and darkness (adjust saturation and brightness at the same time)
Use complementary colors for contrast (lower brightness)

Actual combat:
2. Warmth, coldness, brightness and darkness are relative
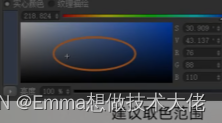
3. Saturation is the vividness of the color (around the color bar)
Reducing the saturation of light and dark colors (the color bar moves to the left) will increase the saturation of gray, making the picture more beautiful and pleasing to the eye.
4. Light and Dark
Light colors feel closer (because they are closer to the light source), while dark colors feel farther away (because they are farther away from the light source)
High saturation and high brightness catch the eye and are mostly used in the visual center.
High saturation and low brightness for secondary subjects
Low saturation and high brightness will not overshadow the main subject and are mostly used for backgrounds
The color tendency is not obvious (low saturation/low brightness) and is mostly used in dark areas.
Warm light source, bright part is warm, dark part is cold
Cold light source, the bright part is cold, and the dark part isComparedIt will feel relatively warmer
But these are not absolute, and painting is not a complete matter of following formulas.
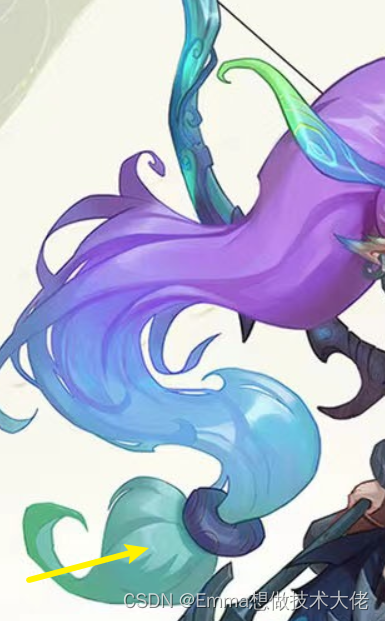
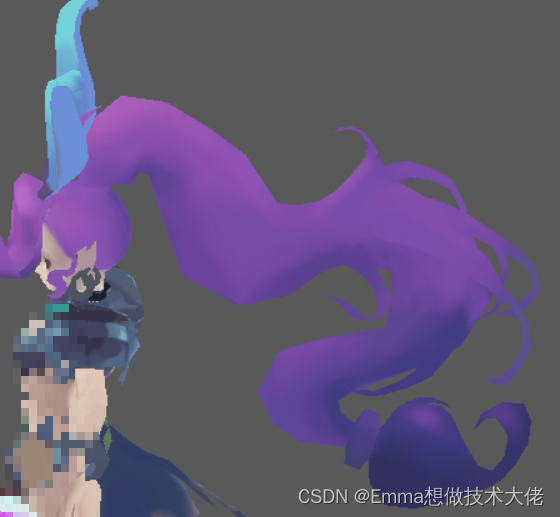
For example, if the ends of the hair are cool in tone, then the hair in the front can be brightened with warm tones, otherwise it will be too monotonous.


Note: The dark saturation of the skin (including similar white things) can be increased a little, otherwise it will look dirty
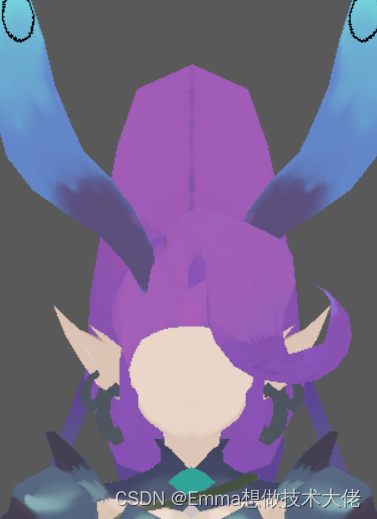
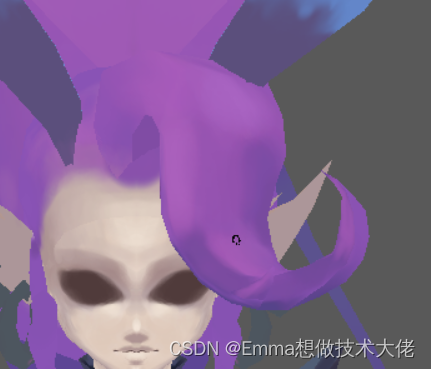
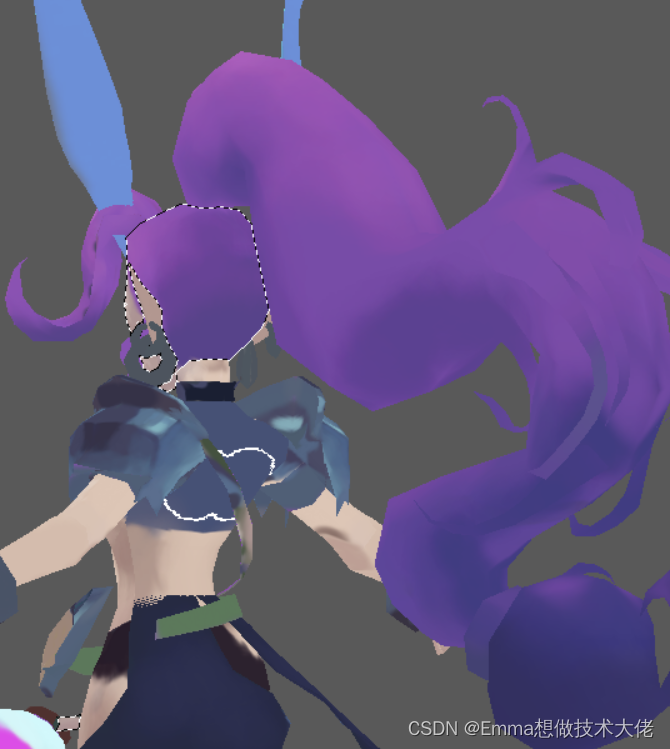
hair:
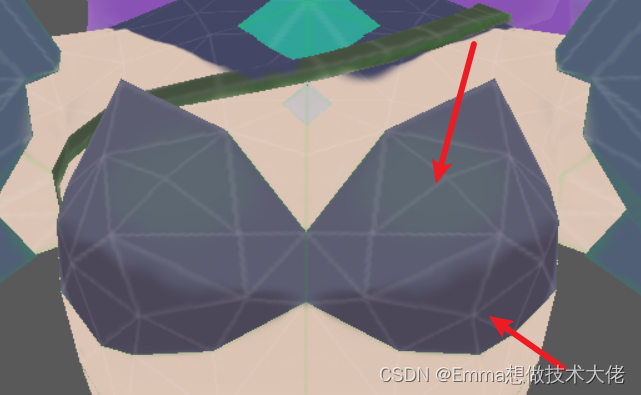
armor:

Be careful not to make the dark color too dark because it is still a natural gray tone.
The sense of volume will be much easier to achieve by dividing and simplifying the idea
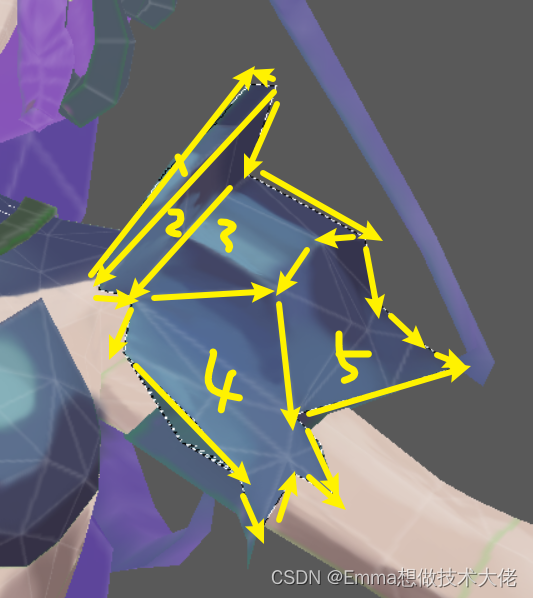
Refer to this:

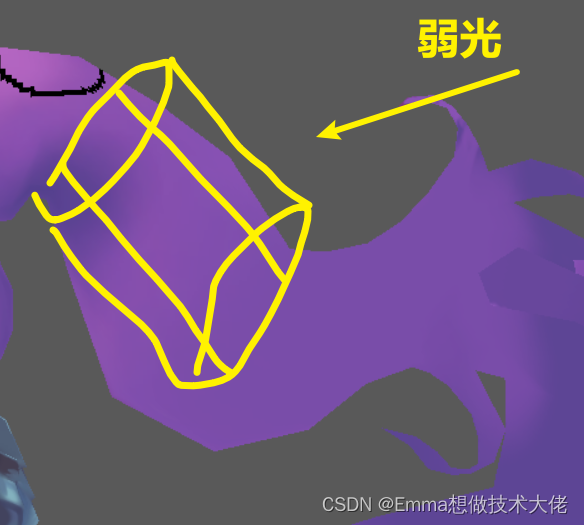
There is light not only at 45° in front, but also at the back, but it is weaker.
belt
The bright part tends to be blue, and the dark part tends to be yellow, which may make the color look a little dirty. So we do it the other way around.
Final large volume


I'm convinced this can't pass the review.
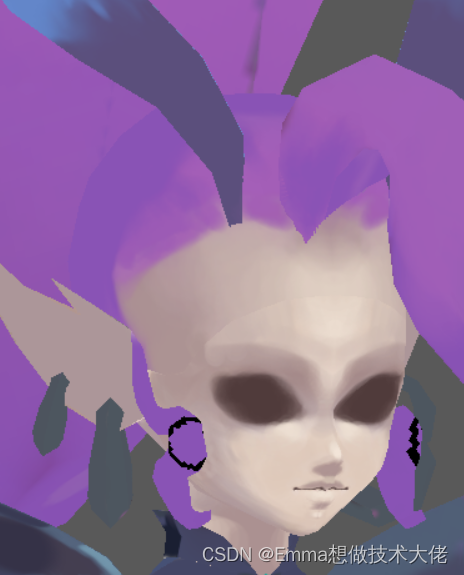
1. Create a new layer. Be careful not to choose a too dark color for the white part of the eye at the beginning. Then try to fill it up, leaving some eyeliner around it.

2. Create a new layer to draw the volume

The eyeball is a sphere, and the eye is pretty much like that.
The upper part of the eyeball is more obscured, while the lower part is less obscured.
Darken and increase saturation appropriately

3. New
When light shines on the eyelid, a shadow will be formed above the eyeball.

Create a new layer and draw a layer of shadow first. Then, because the middle of the eyeball is closer to the light source, use an eraser, reduce the pressure, and erase the middle.


Then use an eraser to erase the shape, making the beginning and end of the eyes slightly narrower.

The upper eyelid is on the downward side, and there are dark shadows at the beginning and end of the eye.

The lower eyelid is facing upwards and receives light.


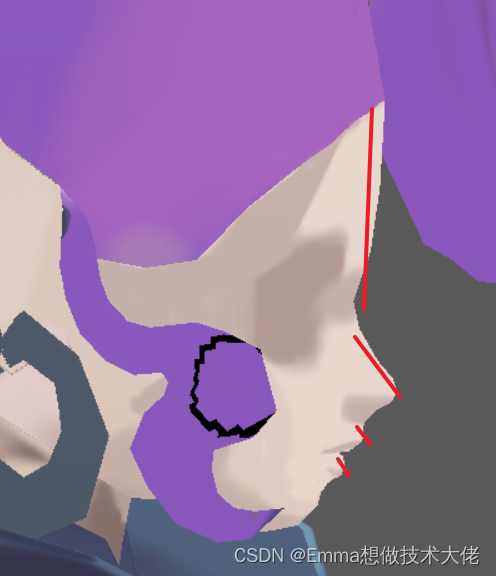
4. The color of this piece must be boldly darkened so that the eye sockets are three-dimensional

5. Eye socket

Make it more three-dimensional, because the area between the two eyes is facing downward, so there will be shadows. Red is cleaner.

6. Draw beautiful double eyelids (light in the middle, dark on both sides)

More detailed

7. Eyeballs:
Turn on projection mode

Erase some and adjust the shape of the eyeball


8.

9.

10.

11.

12.

So the edges will be dark.

By the way, blur the rest of the eye

13.
Draw some "window" effects, pay attention to the strong contrast between light and dark, and darken the upper part boldly.

14.
Add eyelashes and soul highlights

This kind of makeup usually has a little color in the corners of the eyes. At the same time, refine the color here

Then deepen the eyeball to make it more three-dimensional.

15.
Create a new layer and draw eyebrows
Use soft light mode, apply blush, and eyeshadow to brighten it up.


The eyes are finished!

I have devoted myself to the research of technology for more than 30 years. I am proficient in various languages such as Java, Linux, JavaScript, PHP, CSS, etc. I have made many contributions in the field of open source. I have established a developer documentation site to share some problems in technology development for everyone to read.
